Hello Foodies,
My turn to share a bit of sourdough recipe. I have tried so many since last year, about a dozen. I have researched and read and trial and made many mistake and error. However, i didnt give up and every week i made 2 big loaf of bread.
So, i have decided to share the recipe i have been doing now for 4 months and work a treat for me. First of all, my Mother is now about 15 months old now and still alive. Her name is R.B.F., because she is sour. I have shared my recipe on this website (just do a search “sourdough starter” and you will find it). https://cookingwithfrenchy.com/recipes/sourdough-starter-all-you-need-to-know/
I have also shared how i looked after my “Mother” sourdough Starter (you can see my video here or on cookingwithfrenchy on youtube. https://cookingwithfrenchy.com/recipes/how-to-feed-your-sourdough-starter-prior-baking/
Lets get started, first of all plan ahead as the process takes nearly 3 days ahahahahaah. Be re assured you do not have to do much. You don’t really need much equipment for it. Dont go buy Banneton straight away as you can do without it.
Here is my time line for example:
Friday 10 am: get the mother out of the fridge and activate my sourdough starter. depending of the season and weather this could take from 6 to 8 hours.
Friday 6 pm: When my starter is fully activated i mix all ingredients and fold the dough every 30 minutes (4 times)
Friday 8 pm: Leave the bread dough cover on the bench
Saturday 7-8 am: Shape and place in the fridge
Saturday 6pm: Bake
Let’s get started and i strongly recommend you watch the video for more tips
Ingredients
-
Starter activation
- Sourdough that will make 2 big loafs of 850 g
Instructions
-
Sourdough starter activation
-
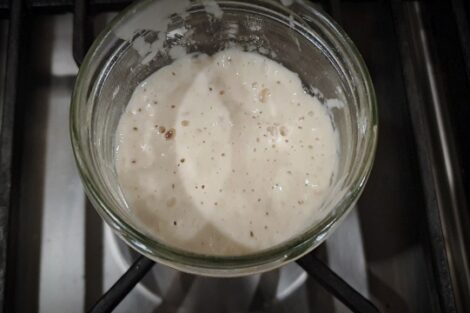
In a jar or jug, Mix with a fork, 60 g of your sourdough starter 30 g of boiled and cool water (that kills all bacteria and bleach in the water) and 30 g of flour. cover and leave it in at room temperature or warm area it will activate faster. Activation means that we bring to life the natural yeast contained in the flour, which help us rise the bread. Mark your jar to the level of your starter mix.

-
After 4 to 8 hours depending of how warm is the room, you should see like the photo above that my starter has triple or quadruple in volume. This is a good indication that my starter is alive and we can now make the bread. Once you remove the cover, you should also see little bubbles formation. Yeahhhh you are reday to go to the next step.
 Making the dough
-
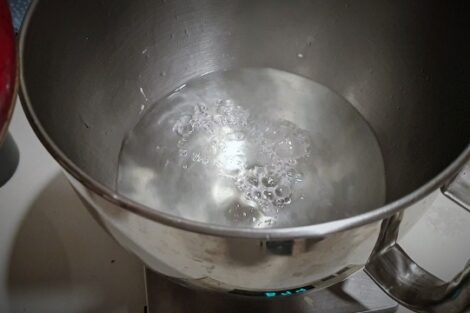
You can either use a large bowl to do it by hands or like here i am using a table top mixer bowl. I have previously boiled my water in a kettle and let it cool down. If you want to be a perfectionnist a water at a temperature of 32-36 C is optimum for yeast development. however, i don t really care i used 1 L of cold water.
-
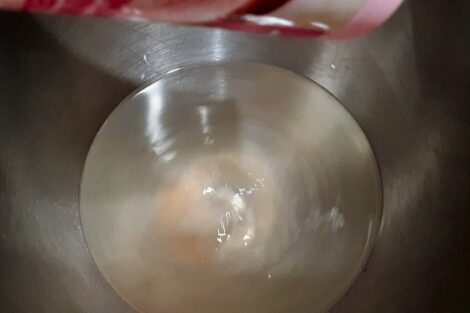
Add your salt. 10 g
-
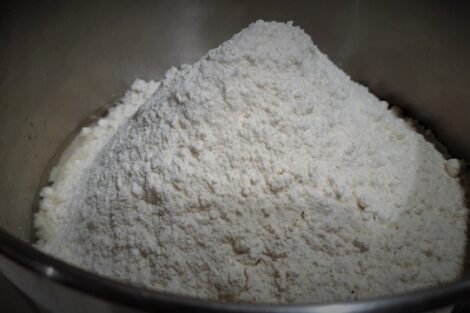
Add your bakers flour (Important to have bakers flour due to the gluten content %. This will not work with other flour) Gluten allows the bread to expand through elasticity of the dough. 1 Kg
-
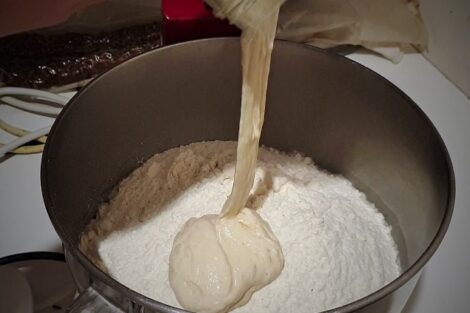
Pour the sourdough starter over the flour. We dont want the salt to be in contact straight away with the sourdough startet. Salt kills yeast.
-
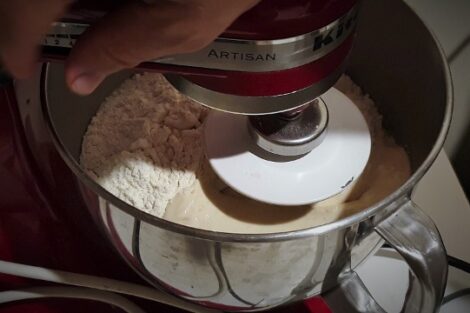
Mix it all together speed 1 on the top bench mixer or by hand.
-
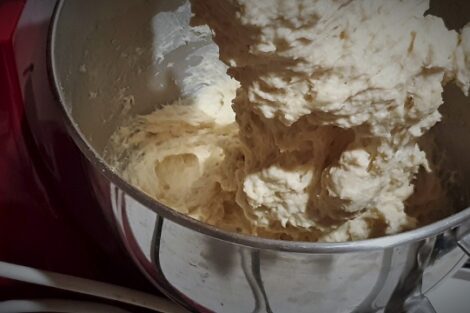
Mix for 30 to 45 seconds. Thedough will look rough and that is normal.
-
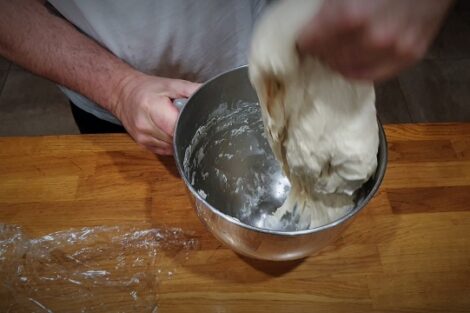
Fold the dough on itself 3 to 4 times. that where the video can be better to explain or see how i fold the dough. This will help create little air pockets in your bread.
-
Cover and rest for 30 minutes.
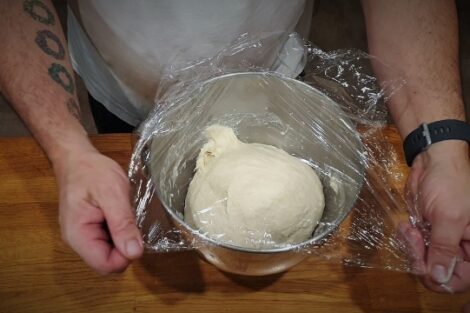
-
After 30 minutes, repeat the process of folding 3 to 4 times. As you can see the dough is already creating bubbles.
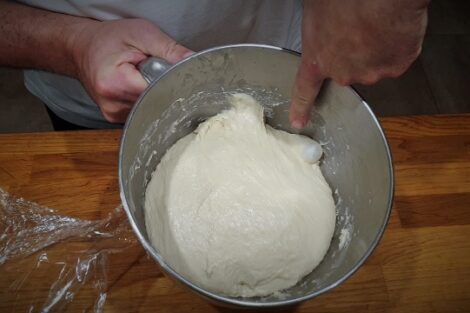
-
Fold the dough again. the dough will start to look smooth and silky.
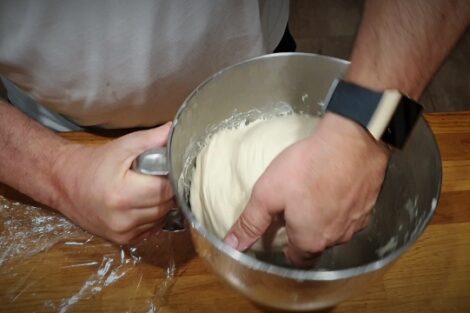
-
Cover it and leave it at room temperature over night.
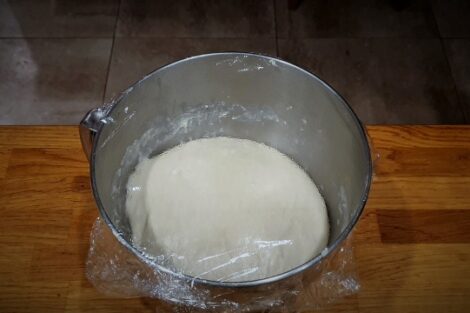 Shaping your sourdough
-
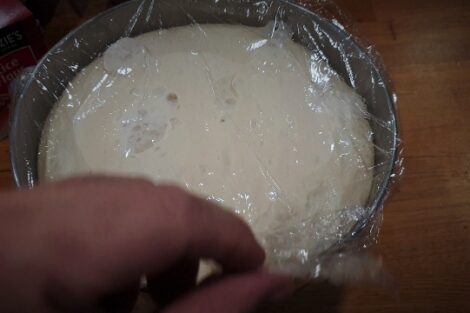
As you can see, your bread triple in volume overnight. This is also a good point to see that your sourdough is still alive and everything is ticking well.
-
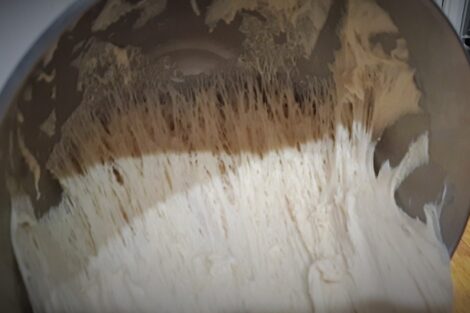
As you empty your bowl you can see the gluten strand formation and all the little bubbles. it is so fascinating.
-
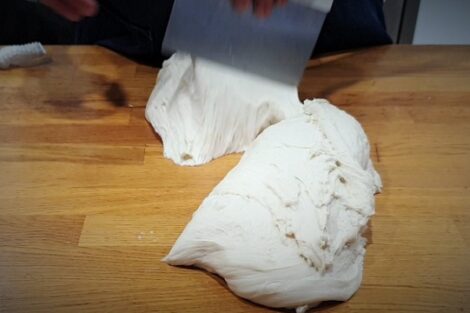
Place the dough on the bench. you do not need flour on your bench. Cut your dougn into 2.
-
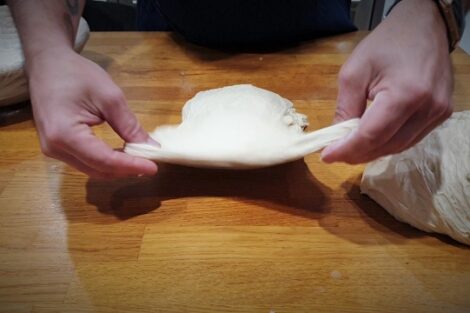
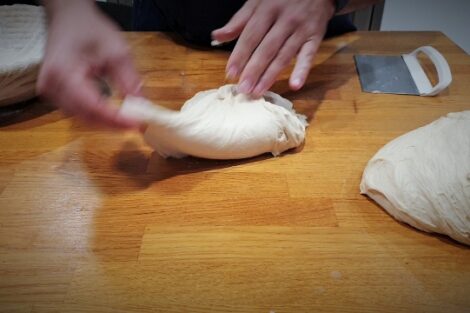
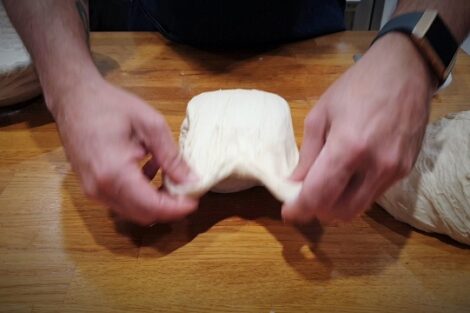
Place the dough in front of you, using your two hands, stretch the far side of the dough like you would pull ears.
-
overlap one side of the dough to the middle right hand first, or left hand. The video here can help you see it better.
-
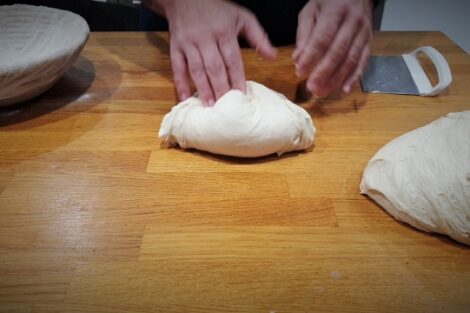
Do the same with the other hand.
-
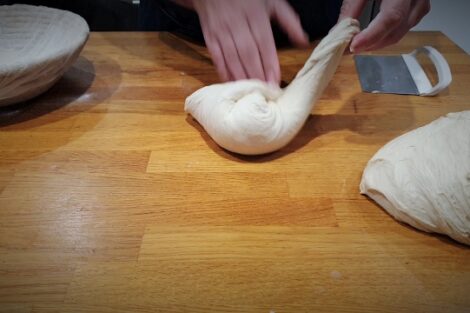
Stretch again the middle of the dough and overlap it like you did before back to the middle.
-
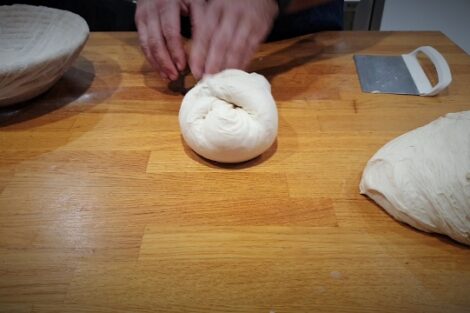
Do the same with the other hand.
-
Stretch the bottom of the dough, and overlap to the rest of the dough. This techniques helps you to have a smooth bread dough and uniform bubbles dispersion. No big holes.
-
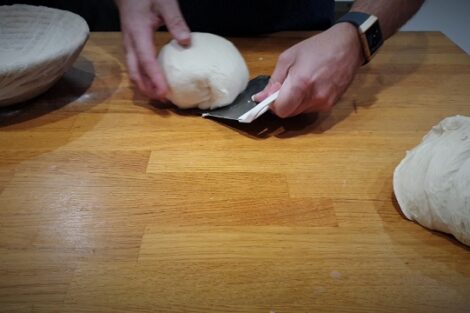
Usisng a scraper, tight the bottom of the dough.
-
If you do not have scaper you can use your hands by tighten the dough down and bring it back towards you in a circular motion. Check the video
-
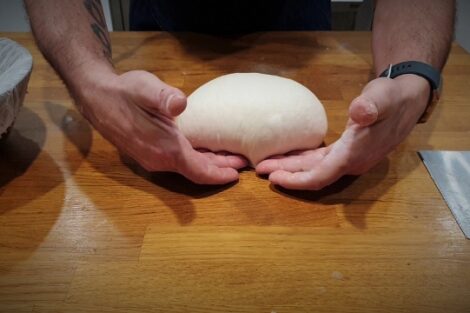
Your dough should look round and smooth.
-
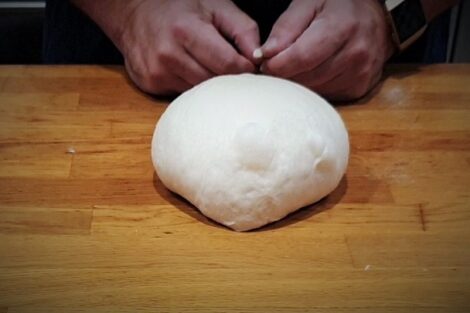
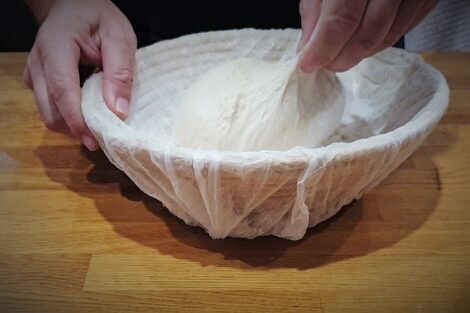
Prepare your baneton with Rice flour and place your dough upside down. If you dont have a baneton you can use a bowl with either a hair net as i do or stockings. remember to add rice flour to it too.
-
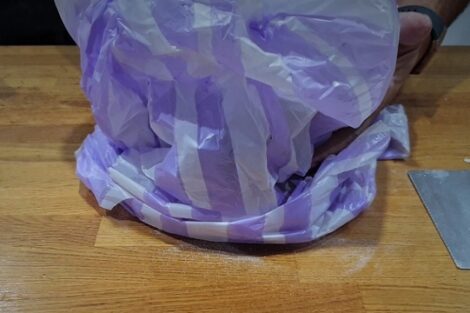
Place a clean plastic bag over the dough. that will avoid your dough to crust.
-
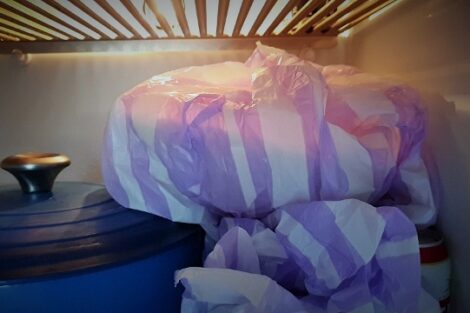
Then in the fridge for at least 10 hours. if you want more flavours you can leave it up to 24-36 hours in the fridge
 Baking your sourdough
-
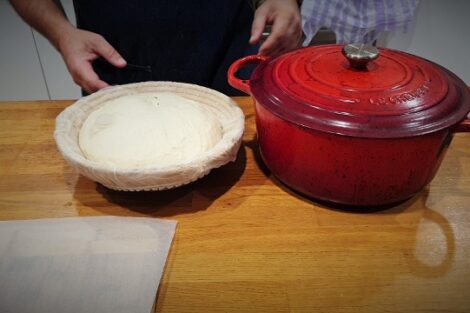
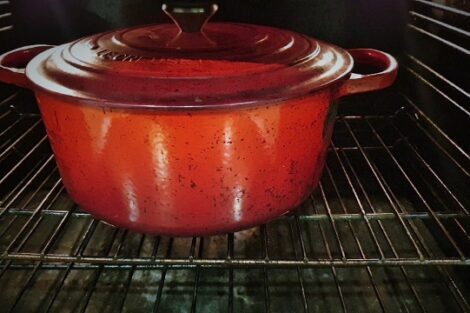
Here i am using and old dutch oven. However, you can bake without one. If you do not have a dutch oven, preheat the oven at 200 C once hot transfer your bread gently to a clean baking tray, score your bread, place a bowl of water in the oven or ice cubes and bake for 40 minutes.
-
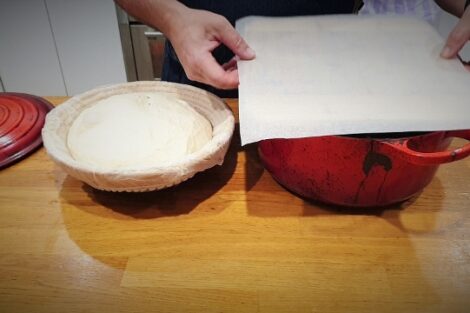
I am measuring a piece of baking paper to ensure my bread wont stick.
-
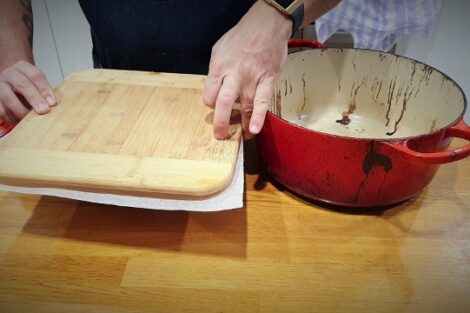
Place your baking paper and tray or chopping board on top of the dough.
-
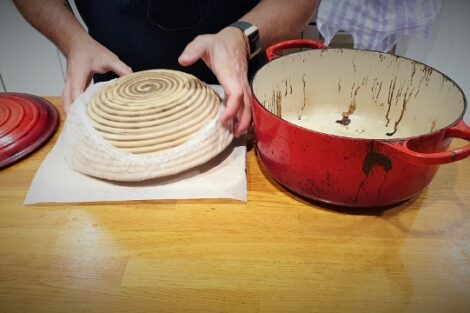
Turn it upside down and remove gently the bowl or banneton.
-
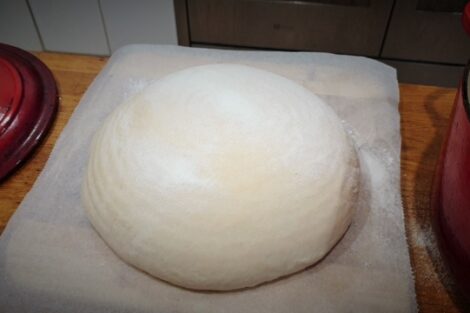
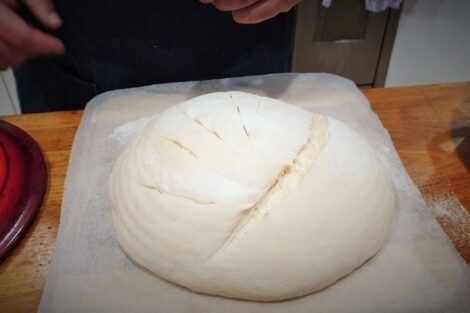
That how it should look
-
Using a sharp blade or knife, score the bread.
-
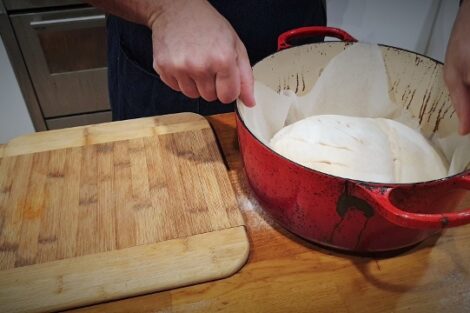
Place the bread into the dutch oven.
-
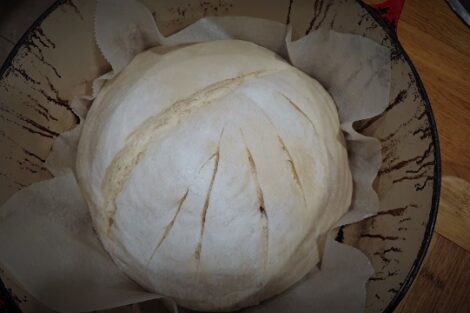
It fits perfectly.
-
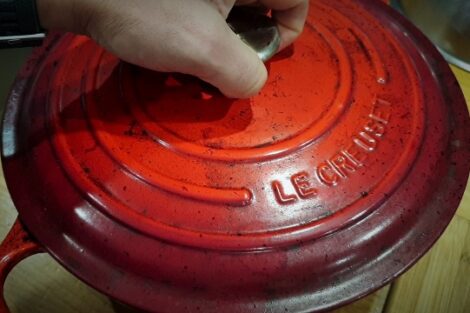
place the lid on top.
-
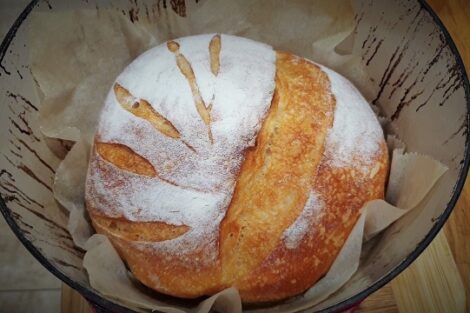
Bake at 200 C for 45 minutes. if you want a bread more crusty, remove the lid and bake for another 10 minutes.
-
Enjoy your own bread
-
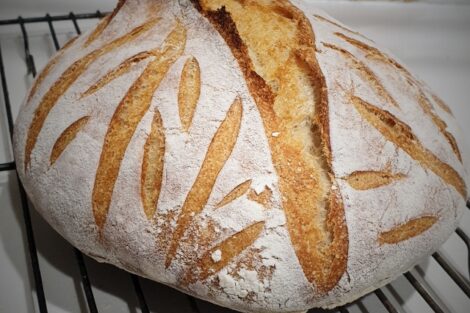
Always cool your bread on a rack for 30 minutes before cutting it
-
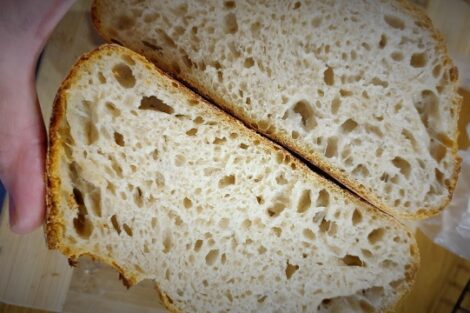
Nice littles holes
-
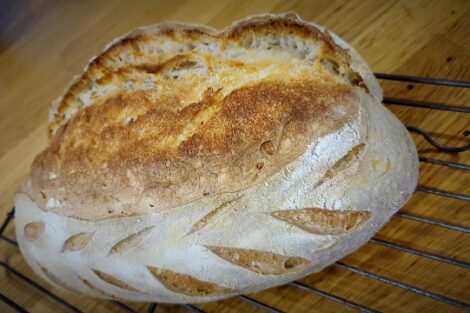
This one was baked without dutch oven. Bon Appetit. Frenchy
Notes
This bread keeps fresh for 4 to 6 days. but i bet it wont last that long once you slice it and have some butter or cheese with it.
