Sponge cake is a light aerated cake made with eggs, flour and sugar, sometimes leavened with baking powder. Sponge cakes (genoise/genoese), leavened with beaten eggs, originated during the renaissance era and is a base for many cakes such as strawberry cake, naked cake style, festive cake, designer cakes.
The basic whisked sponge cake does not contain any fat. It’s made by whisking eggs and sugar and gently folding in flour (plain or cornflour). This type of cake is also called foam cake, depending on aeration of eggs and heat to rise. Some types of sponge are baked in non greased pans to improve the cake’s rise by allowing the batter to adhere and climb the sides of the pan. If you wish to use this sponge cake to make Swiss roll for example, it is recommended to include baking soda or cream of tartar in the recipe as it makes the sponge softer and more pliable
To make a Genoise like the French do, flour and melted butter are added to the egg mixture for a moister cake.
Sponge cake bases soaks up the flavours from fresh fruits, fillings and custard. Although sponge cake is usually made without butter, its flavour is often enhanced with stock syrup, layered with either, chocolate ganache, buttercream, pastry creams, mousseline creams or other types of fillings and frostings.
Ingredients
-
This recipe is for 4 X 15 cm Tins. (Approximately 230 g of sponge mixture per tins)
Instructions
-
Making the Vanilla Sponges
-
In order to make a good aerated sponge that will be light you must weight your ingredients correctly and have all your ingredients at room temperature Sift your flour... Here my eggs were from the fridge so i place them in a bowl of warm water (10 min) to bring them to room temperature. this is called "conditioning" your ingredients. It favored the development of air cells in the sponger and make the structure lighter.
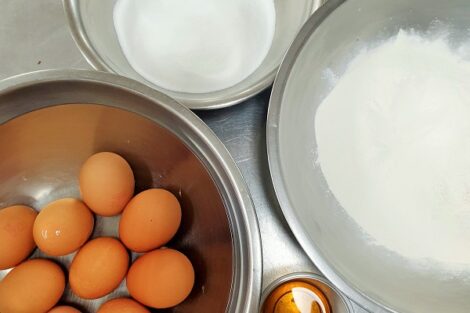
-
Preheat your oven at 180°c. Meanwhile prepare your cake tins. For this recipe i am using 4 rings of 15 cm diameter each and 4 cm high.. If you are not sure if your cake tins sticks, follow my tips. Grease your cake tins with a bit of canola spray oil and cut a disc of baking paper (non-stick) or silicon paper and make a collar to go inside the cake tins of 5 cm height.
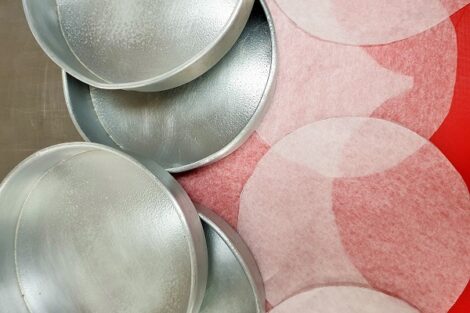
-
Place the disc on baking paper at the bottom of the tins. Then the collar inside the ring. This will allow the sponge to raise without sticking to the tin which will allow for even rising, baking and easy to remove from the tins after baking. The spray oil help the collar to stay in touch and against the tin. If you have tins that never stick totally avoid that methods. Other prefer to brush with a little melted butter and apply a fine layer of flour and remove the excess.. (A bit more messy and old school).
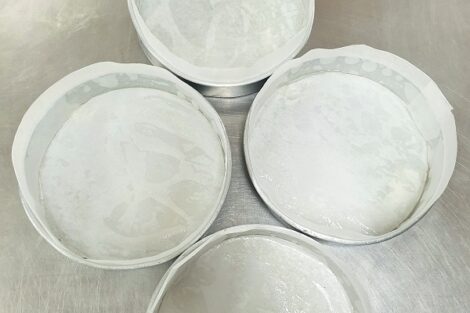
-
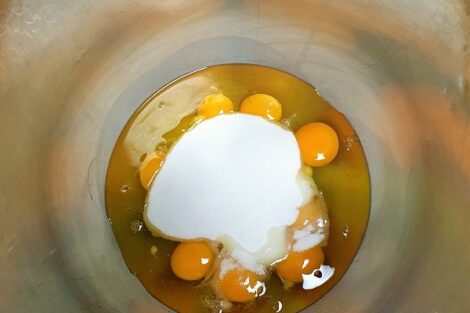
In a bowl mixer or a large mixing bowl, Place your crack eggs. Cracking the eggs in a single container is safer to avoid egg shell in the entire mix.
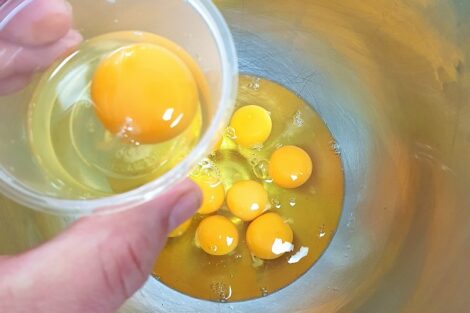
-
Then, add the sugar.
-
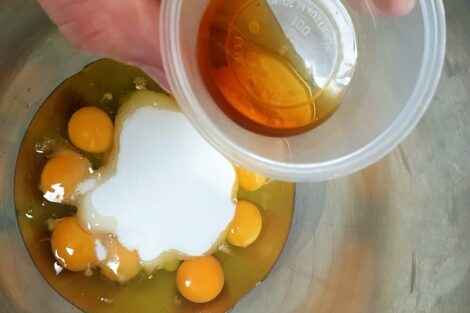
Follow by the Vanilla essence. I must say if you can afford it you could use half a tea spoon of vanilla paste as it will taste even better.
-
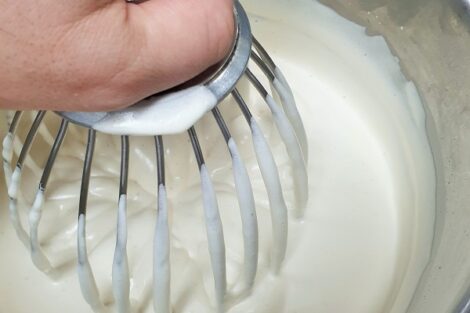
Mix at full speed the whole eggs,vanilla and sugar to a sabayon stage (ribbon stage). It takes about 6 to 8 minutes depending of your machine
-
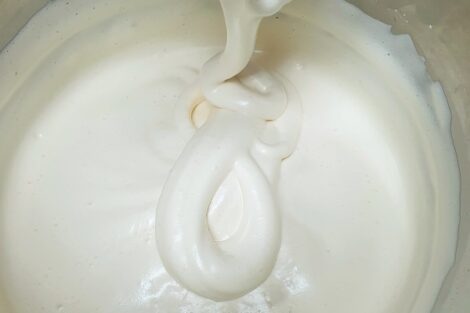
Ribbon stage means that if you lift the whisk off the mixture, you should see a ribbon appearing and you could draw a figure of 8 on the top of the mixture and it will stay visible for at least 15 to 30 seconds. This mean that your mixture is well aerated and the structure is stable.
-
This stage is very important as you do not want the mixture to collapse.. Fold in gently and softly a third of the flour. Using a spatula or perforated spoon, gently go from the side of the bowl to the bottom and to the opposite side of the bowl and turn the spatula upside down, Turn the bowl a bit and repeat this 5 times. Then add the 2 third of flour and repeat exactly the same motion 5 times it will incorporate the flour to the egg mixture gently and you will see less and less flour in the bowl.
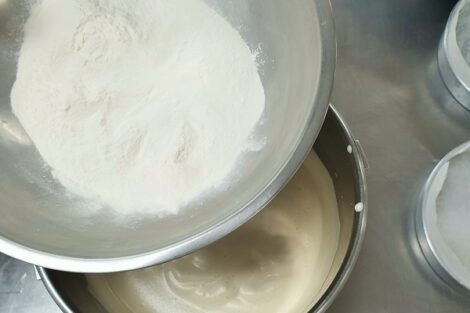
-
Finally add the last third of the flour and keep folding in your flour with a nice light motion going from the side of the bowl, to the center and the side again. Repeat until the flour has just entirely disappeared. do not over fold in as it will make your sponge mix less aerated, collapsing a bit and less rising through the baking process.
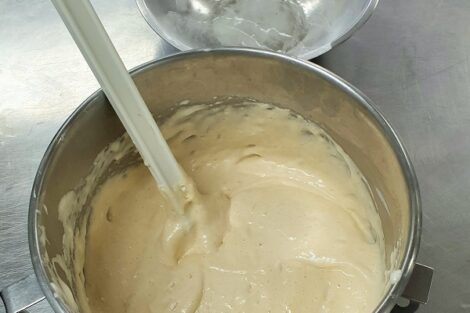
-
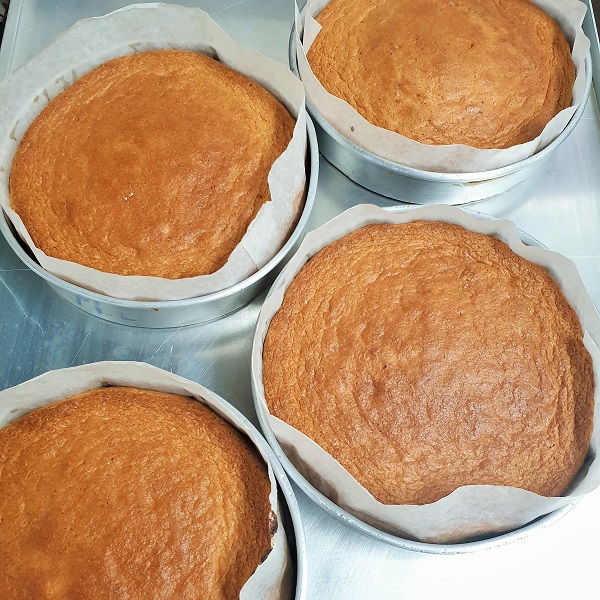
If you want to be very accurate and have exactly the same sponge, it is of a good practice to measure every cake tins and have the same amount of filling inside the tins. For this tins i filled them up to 230 g each and as you see on the photo, about 1 cm lower than the edge of the tin.
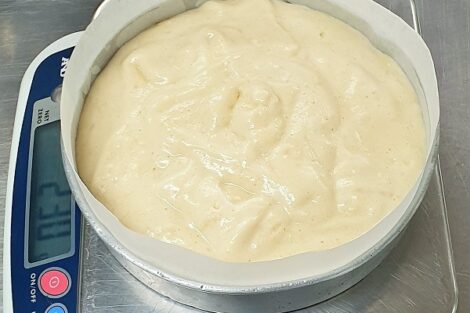
-
Place the tins on a tray ready for the oven.
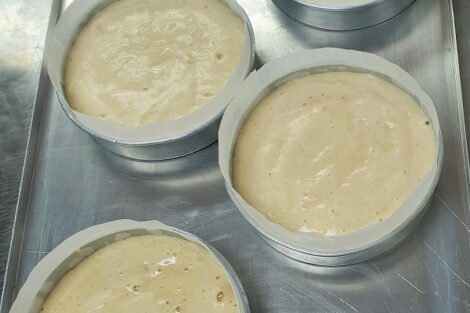 Bake the vanilla sponges
-
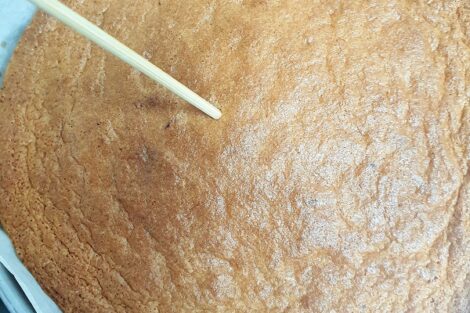
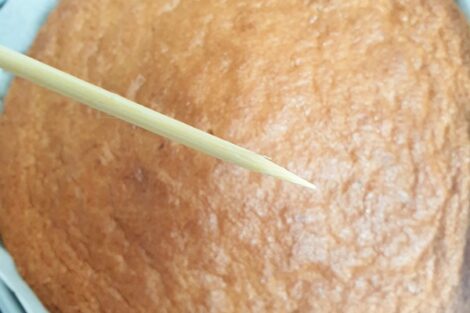
Bake your vanilla sponges at 180°c for 20-25 minutes. To check if they are bake insert a skewer into the middle of the sponge.
-
Your sponge should look golden and the skewer should come out clean with no wet cake batter into it. If it is a bit wet on the skewer put them back for 5 minutes and cjeck again.
-
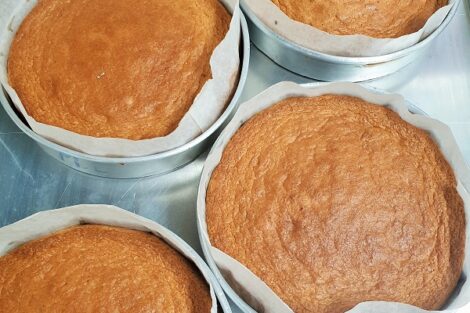
Once baked, leave the sponges in the tin as they are too cool down for 10 minutes.
-
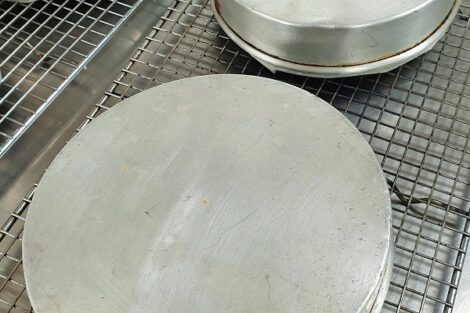
Then using a cake wire rack. turn the sponges upside down for another 10 minutes and remove the tins, as well as the baking papers.
Notes
Watching my YouTube videos will give you a better understanding of the folding method.
You can used this sponges straight away once cold.
You can keep them up to 5 days in the fridge wrapped in plastic. Or, up to 3 months double wrapped in plastic in the freezer.
Sponge cake bases soaks up the flavours from fresh fruits, fillings and custard. Although sponge cake is usually made without butter, its flavour is often enhanced with stock syrup, layered with either, chocolate ganache, buttercreams, pastry creams, mousseline creams or other types of fillings and frostings.
