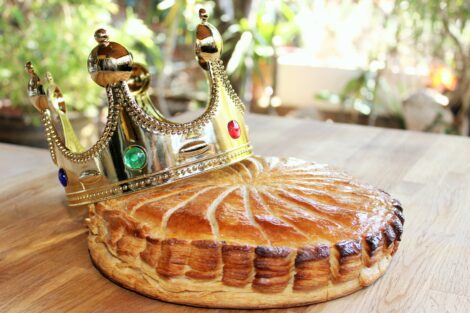
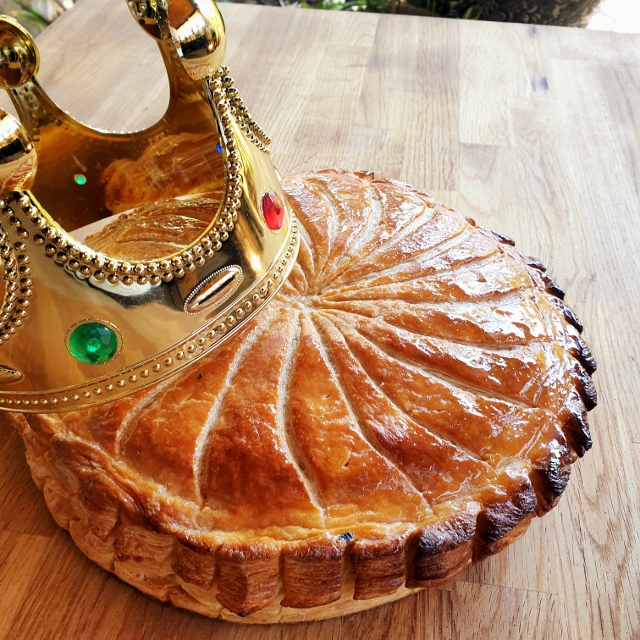
Growing up in France, “La galette des Rois” is something we were looking for just after Christmas. As we go every day to the bakery to buy fresh baguettes, we could smell down the street the galettes baking. The memories of puff pastry and almond scents down the street are still very vivid in my mind. Traditionally, the Kings cake appears in the bakery at the beginning of January until the end of the month. La galette is much more than just a cake, it is made of butter pastry and almond that take its roots back to the Roman Empire.
In this Recipe I am showing you how to make The “Galette des rois” from A to Z. You can make your own Puff pastry as i show in this recipe. Puff pastry could be a challenge for many people but with few tips, it is a great pastry and worth every effort. Furthermore, Making your own Puff pastry requires a lot of resting times. I recommend you to make the pastry a day in advance.
You can also buy it directly from a baker or used frozen puff pastry. If you use Frozen sheet puff pastry, i recommend you use 3 sheets for the bottom layered on top of each other and the same for the top. Do not forget to remove the plastic between the sheets.
Bon Appetit.
Frenchy.
Ingredients
-
Puff pastry
- Frangipane-Creme D' amandes- Almond cream filling
- Egg Wash
- Stock syrup
- 1 Little toy to hide in the Galette 1 Crown for the king of the day
Instructions
-
Making the Puff Pastry
La detrempe-The base dough
-
As i mention earlier Puff pastry takes time to make and need a lot of rest Between folds. Be organised. Gather and measure properly all your ingredients. Measure 50 g of butter out of the 450 g and keep the 400 g of butter in the fridge.
-
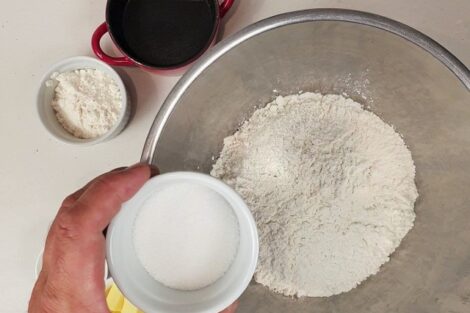
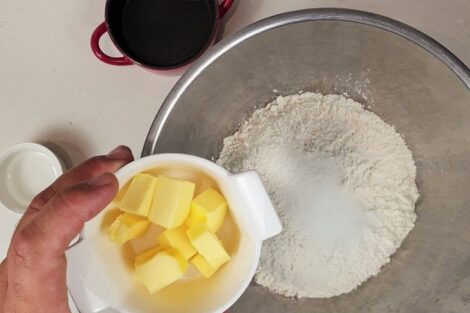
Place your sift flour in a large bowl and add the sugar. Add the cold butter cube.
-
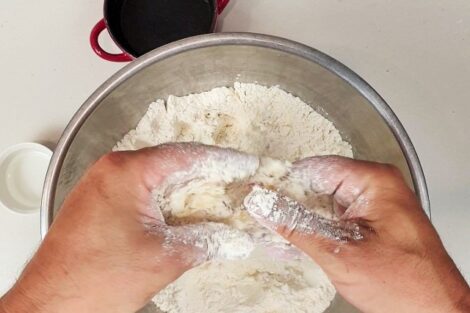
Using the tip of your fingers crumble butter and flour together until it becomes a sandy texture.
-
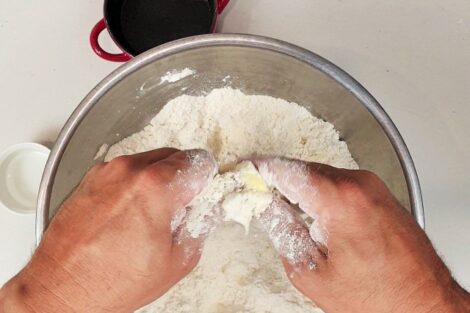
Keep rubbing the flour and butter together.
-
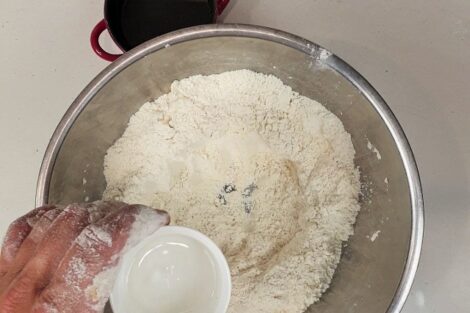
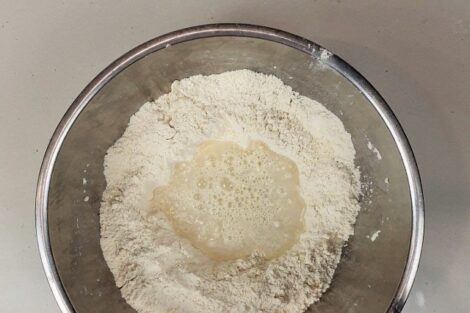
Make a well in the center of the flour and add the vinegar. The vinegar is here to soften the strands of gluten
-
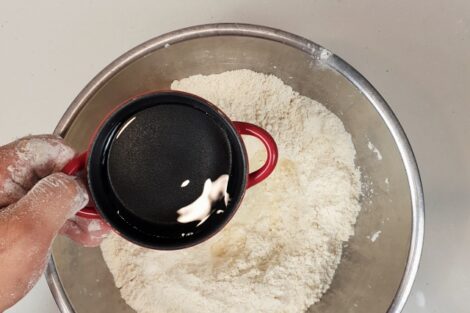
Add the cold water.
-
-
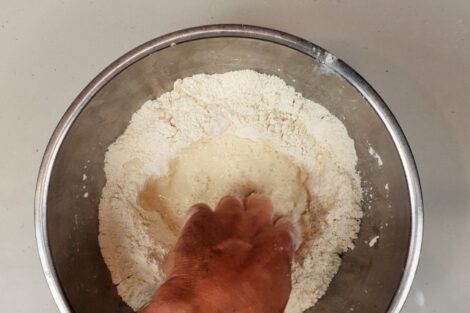
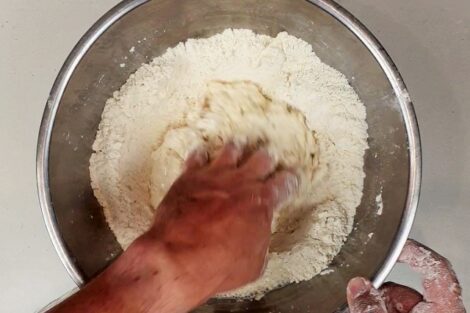
Using your hand, start mixing all the ingredients together.
-
Start from the center to the edge of the bowl in a circular motion.
-
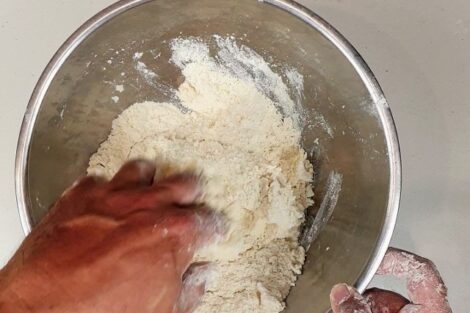
Keep doing it until the dough start to form.
-
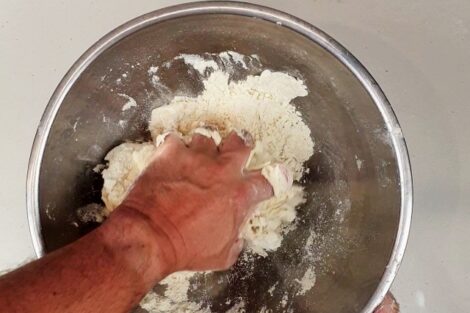
This should take no more than 2 minutes.
-
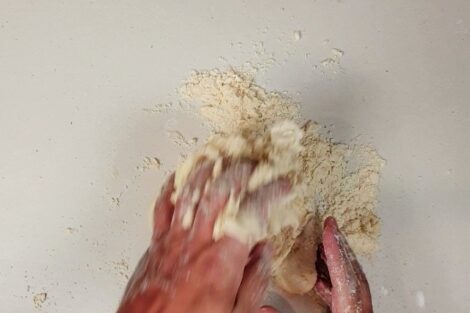
Once the ingredients are binding together, place your dough on the bench.. If you feel like the flour does not connect all together add few drops of water.
-
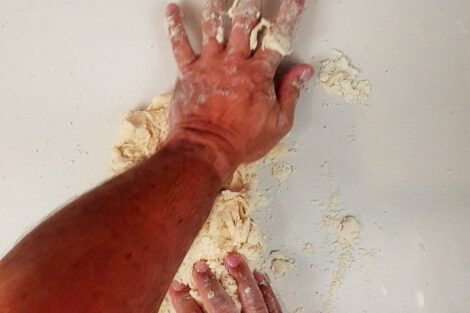
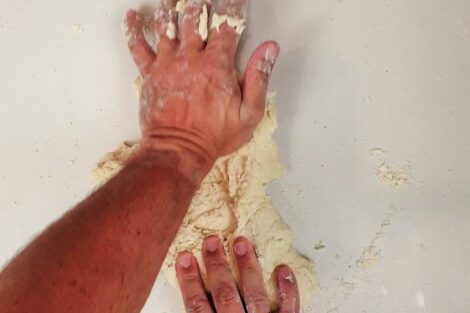
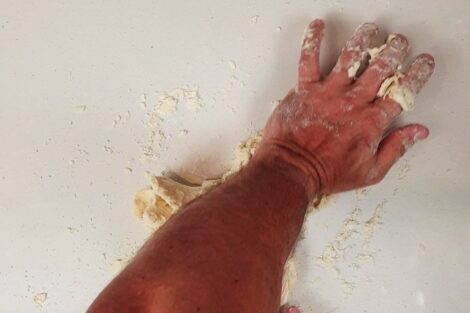
Using the palm of your hand, press and stretch the dough for 2 minutes only.
-
This is to make sure that all ingredients are all well combined... Here we are not looking for a smooth dough as we do not want to work the elasticity of the dough.
-
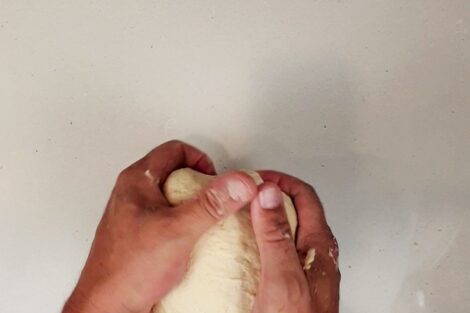
The less you work it the better it is. Shape the dough.. you have just made a "detrempe"
-
-
The less you work it the better it is. Shape the dough.. you have just made a "detrempe"
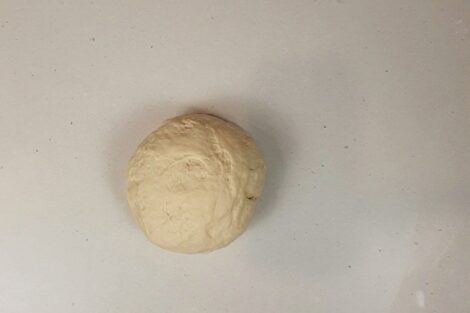
-
Traditionally, we used to cut the dough like this to prepare for the folding of the butter.
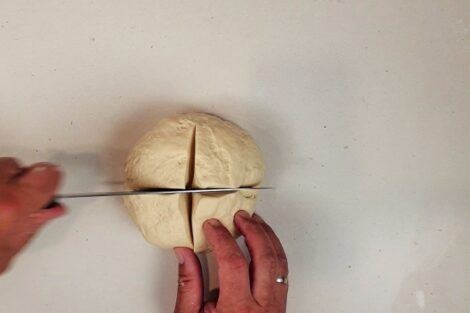
-
Cover with plastic wrap and refrigerate for 1 hour.
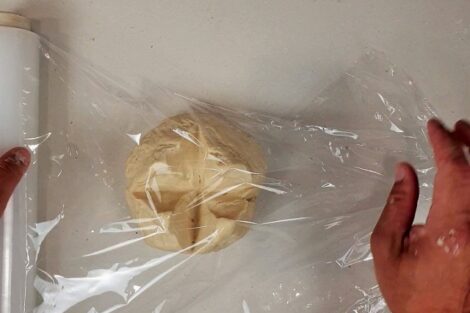 Preparing the butter
-
Meanwhile, You can prepare your butter. Here we are looking to shape the butter to be of a rectangular size, even thickness, soft and pliable but not too soft.
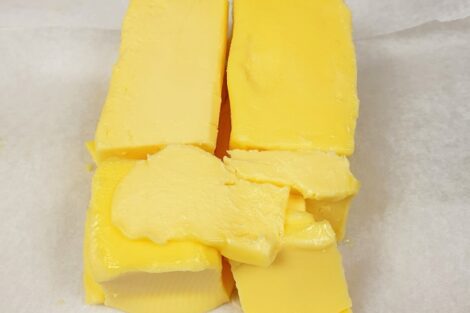
-
I left my butter outside for 5 min as it was 34°c in my kitchen. you may need to leave it longer if your kitchen is cold.
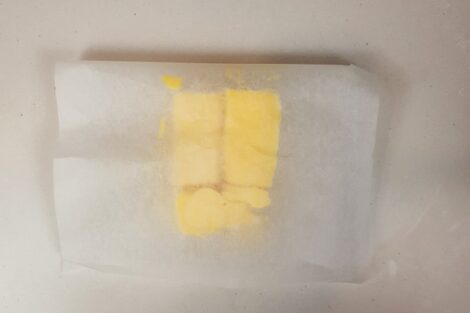
-
Using silicon paper or baking paper press, push the butter to make the butter soft and pliable.
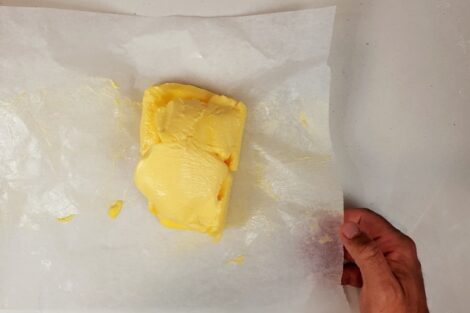
-
Once all your butter is soft enough, roll the butter into a rectangular shape of even thickness. Keep the butter in the Fridge
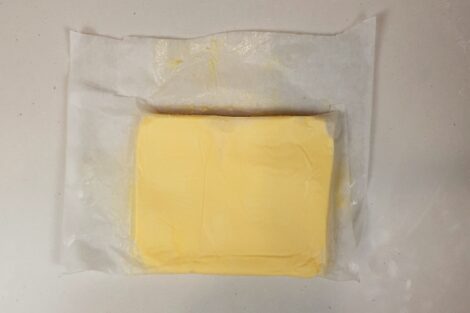 Creating Layers. Adding the butter
-
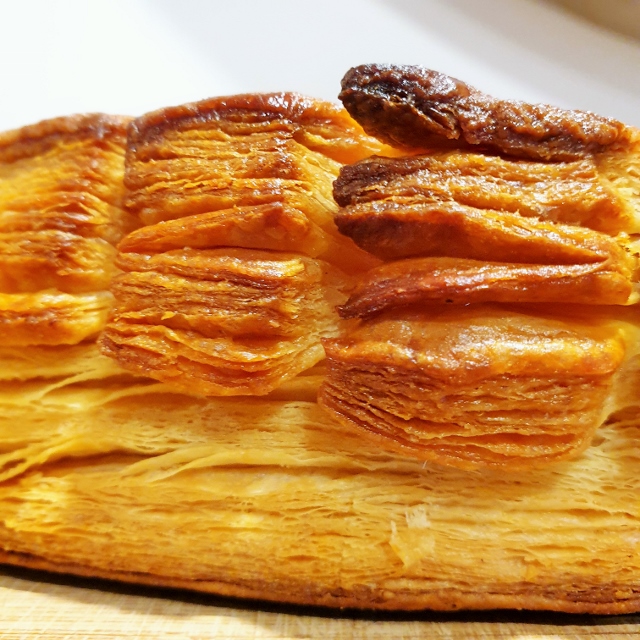
Puff Pastry is beautiful and lift naturally when baking. This is happening because of the layers we are creating with butter and dough. When the pastry is baking the butter melt, releasing steam and push the dough upward. Sprinkle some flour on your bench and bring your butter to room temperature. the key success here is that your butter is of the same texture as your dough. cold but pliable..
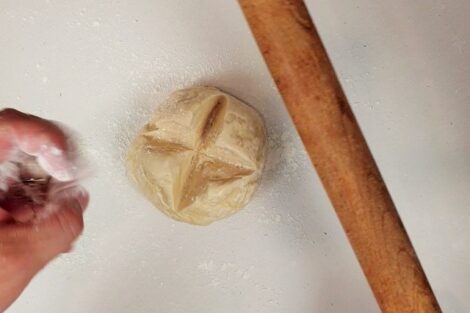
-
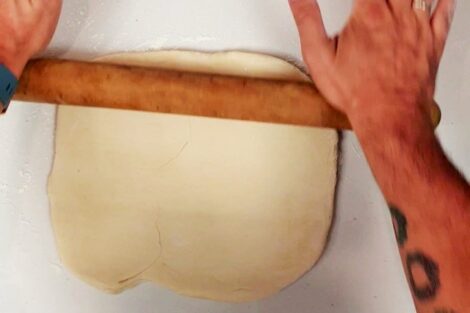
Using a rolling pin, roll out your dough to a rectangular shape. 30 cm X 20 cm.
-
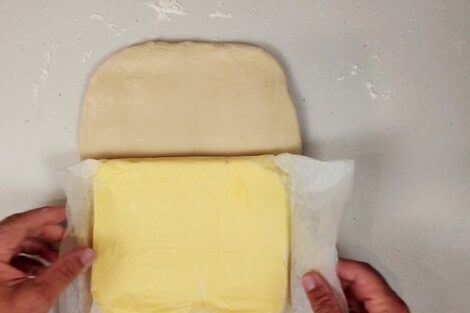
Grab your butter, place it to the bottom half of your rectangle and check if the top half of the dough can "JUST" cover the butter.
-
If it can just cover it is perfect, remove the paper and we will proceed. If the dough does not cover it, just roll our the dough a little more and check again. If you have roll out the dough way too much, you will have to roll out the butter a little more too. the principle here is that we do not want to have too much dough without a butter layer as this will prevent to dough to rise.
-
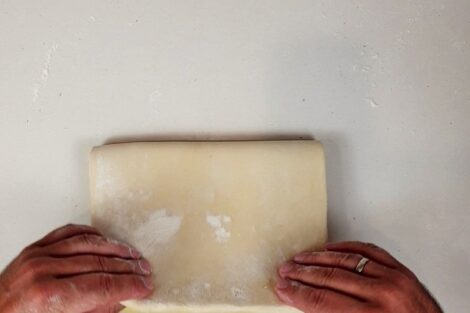
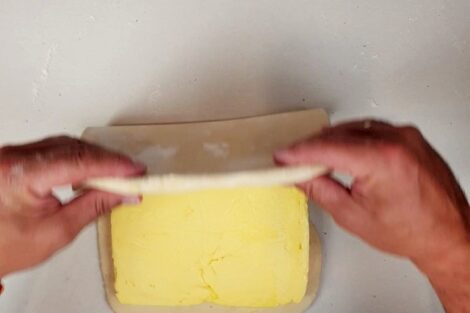
As you see here, the butter just fit in the bottom half of my dough leaving me no more than 5 mm the edges.
-
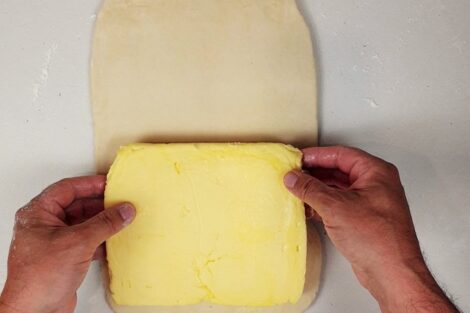
Cover the butter with the top half of the pastry.
-
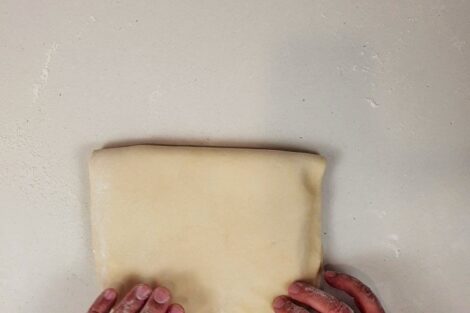
Seal the edges by pinching the pastry. here we really want to enclose the butter inside the pastry to prevent it running out or sticking on the bench whilst layering the pastry.
-
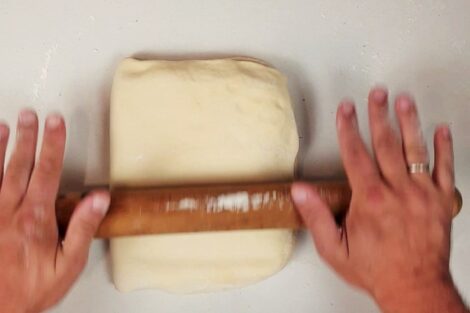
Once you have seal the pastry and check that the butter is not too hard, you can start rolling the dough a front of you.
-
Use the rolling pin going forward and backward and always in the same direction. Check that the pastry does not stick on your bench. If it odes add a bit of flour on your bench.
-
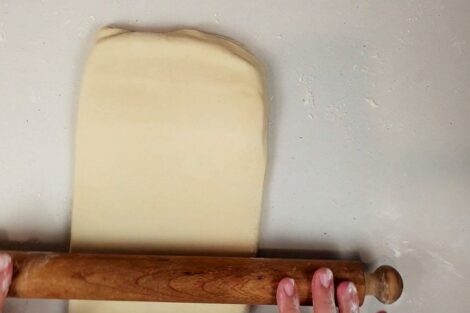
As we roll we want to keep that rectangular shape. So, with your hands always try to correct or adjust the shape by pushing on the sides of the dough.
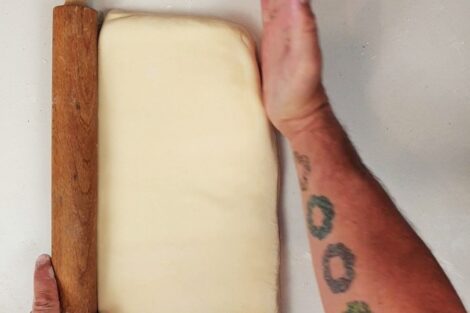
-
Roll gently but fast enough.
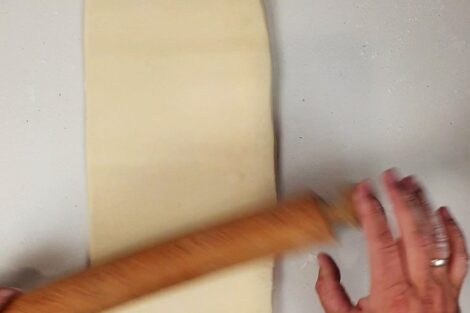
-
Shape the pastry and roll the dough till its about 60 cm long and 20 cm wide.
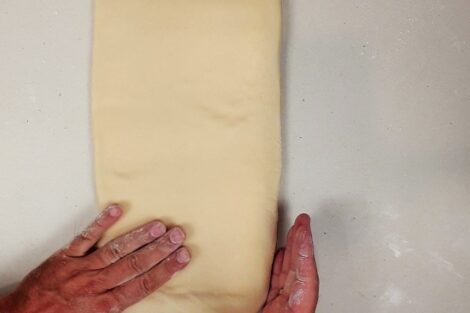 Folds and Turn- Important technique
-
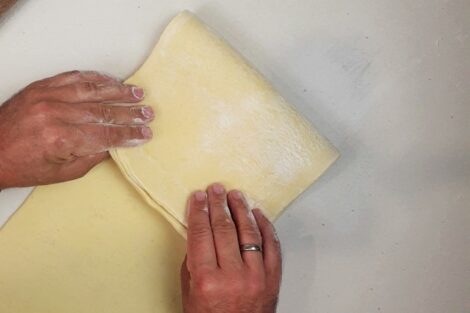
Here we are going to fold the dough to create 3 layers. Imagine you divide the dough in 3 parts. Take the top third of the pastry and bring it to 2/3 rd of the pastry.
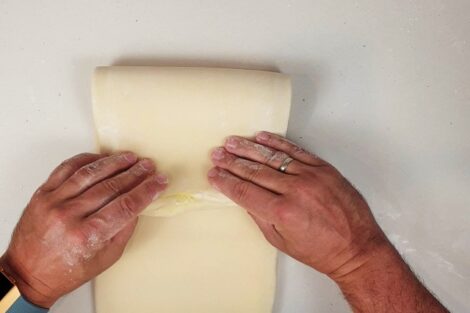
-
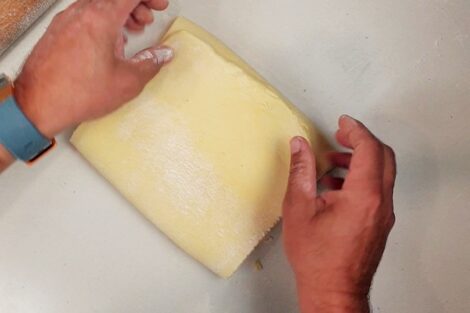
Then take the bottom third and place it over the top of the layer you just made.
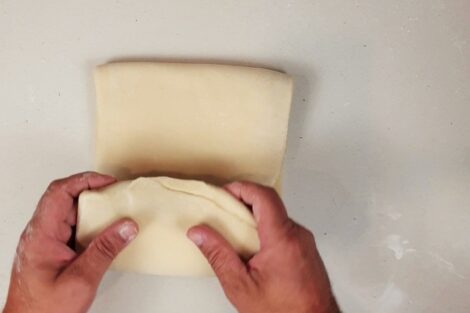
-
It should look like this. You have just create a fold, well done. This is the folding techniques that create so many layers and that we will repeat 5 more times. But wait.
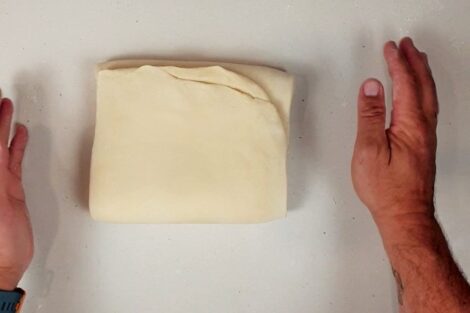
-
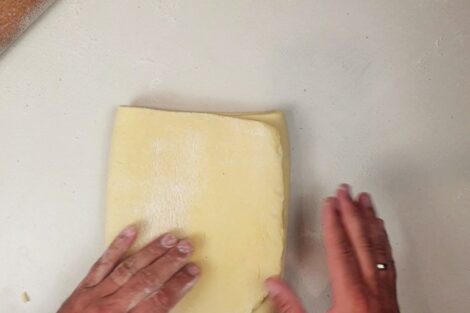
Once this is done grab your pastry and turn it clockwise by 90°. This is your 1st turn. Puff pastry requires you to do it 5 more times. But before you can do that you must rest the dough.
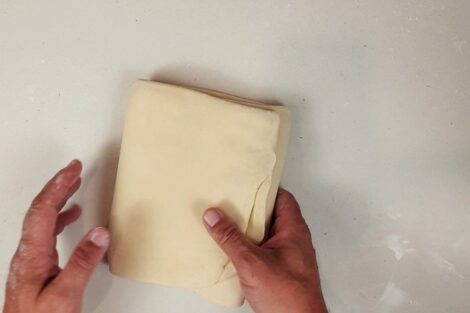
-
Cover your dough in plastic wrap and place in the fridge to rest for at least 30 min. this will make the dough less elastic, easy to roll. Do not neglect the resting time. You can let the dough rest 2 hours between turns this is not an issue.
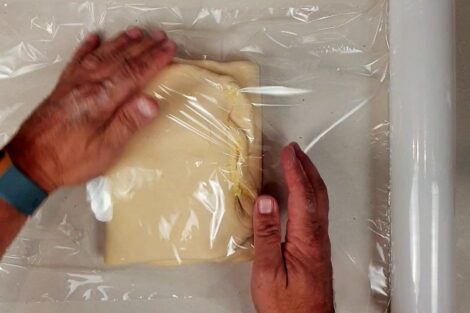
-
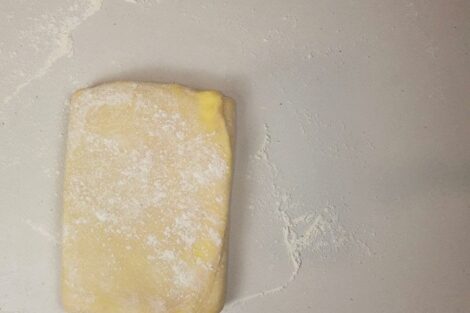
Now that 30 minutes passed, sprinkle some flour on the bench, let the dough to get back to room temperature for 5 minutes.
-
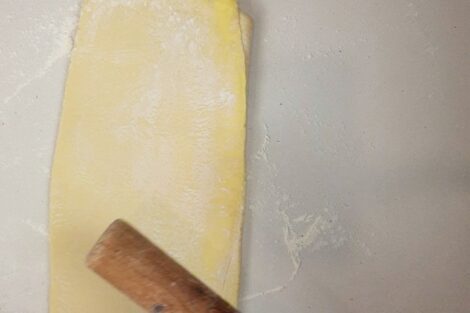
Having the dough in the exact same position you finished the first turn, repeat the same action.
-
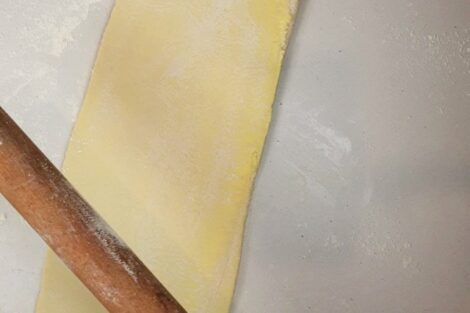
Roll the dough a front of you to a 60 cm X 20 cm rectangle. always check that the dough does not stick t the bench. If so, add some flour.
-
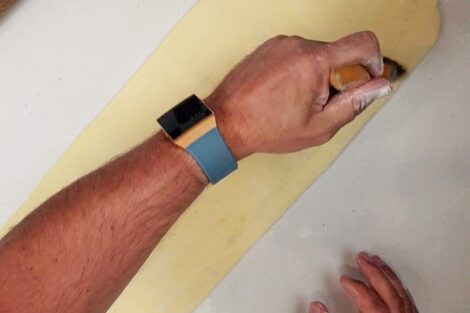
Once you are ready to fold again, brush of some excess of flour.
-
Grab the top third and fold to 2/3rd down.
-
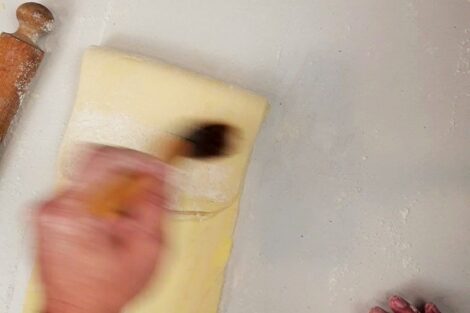
Brush the excess of flour.
-
Grab the bottom third and fold it over.
-
Turn the dough to a 90° rotation clockwise.
-
Cover with plastic wrap and rest for another 30 minutes. You will need to do that 4 more times. Repeat this process until you have done a total of 6 turns. and let the dough rest for another 30 min. This can be done 1 to 3 days in advance. You can also freeze your dough for up to 3 months.
 Frangipane-Almond cream filling
-
Weight all your ingredients. Leave the butter outside the fridge for 5 to 10 minutes to get it soft
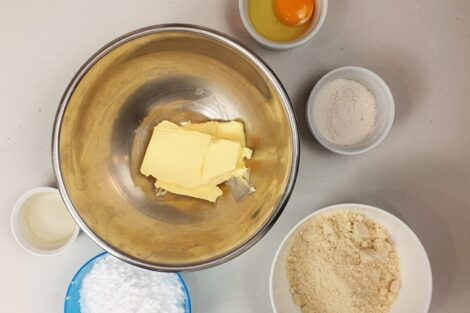
-
Soften the butter to be of a cream consistency.
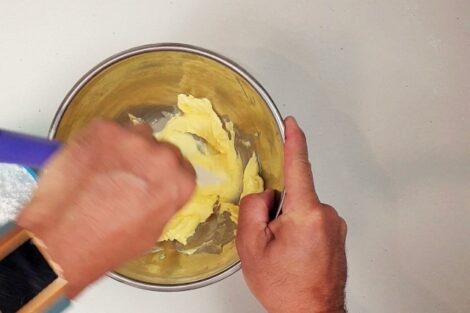
-
Once your butter is soft, add the sifted icing sugar.
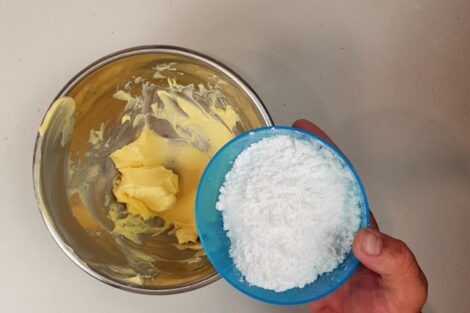
-
Combine it all well.
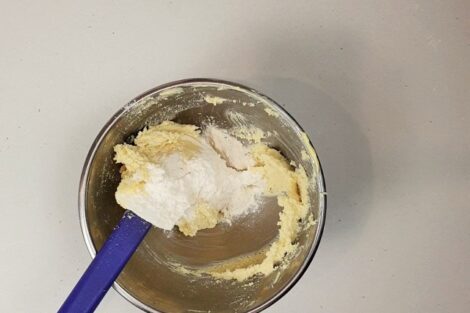
-
Add the Almond meal.
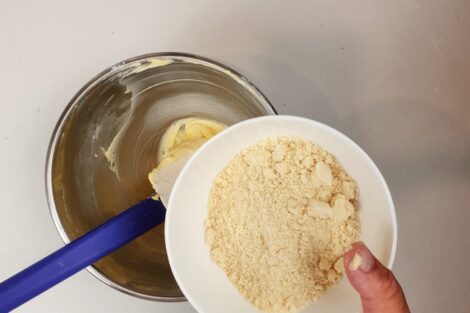
-
fold until it is all combining.
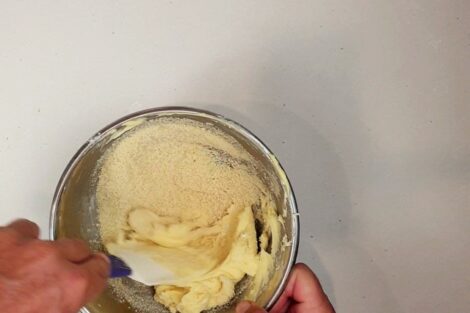
-
Add the flour
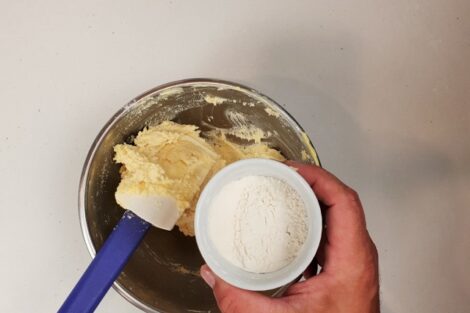
-
Mix it well
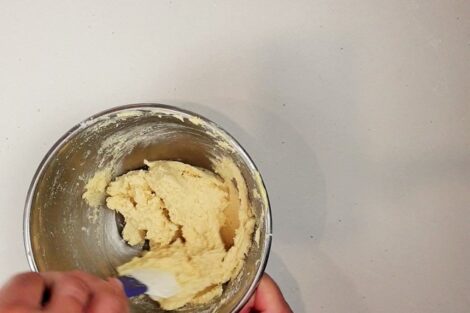
-
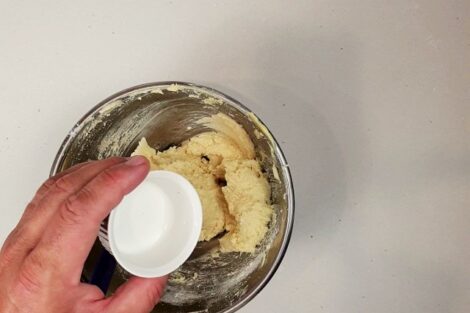
Add the Rum and mix it well.
-
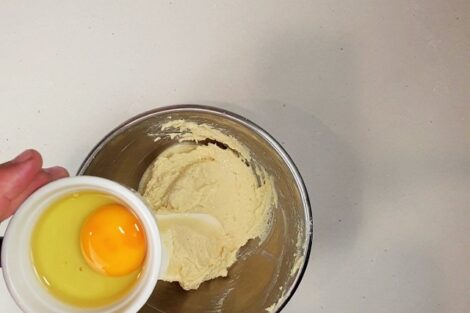
Add the egg.
-
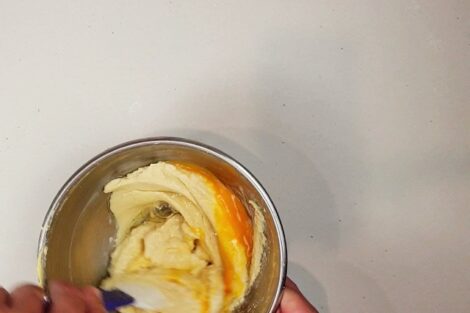
Fold the egg in until it is all combined.
 Syrup
Syrup
-
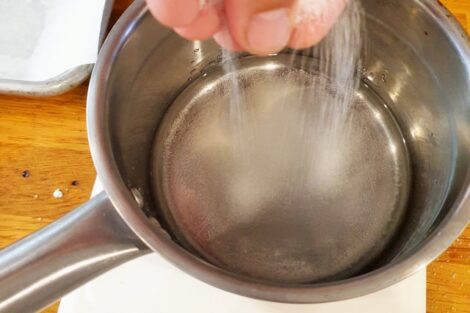
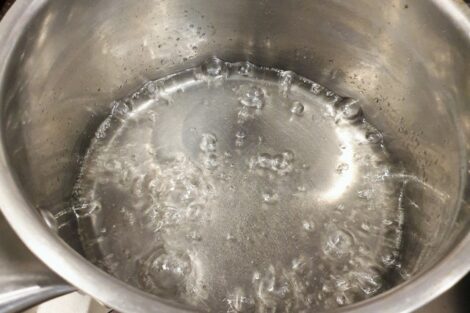
Using a small sauce pan, add the water into it and ad the sugar.
-
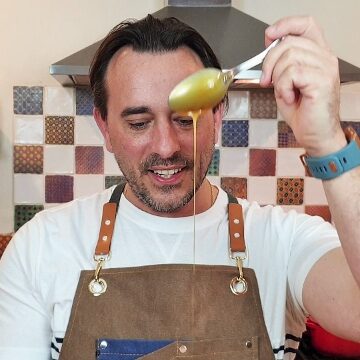
Bring it to a boil and boil it for 3 minutes. Cool down and keep aside. We will use the syrup to finish and glaze the galette post baking.
 Building the Galette des rois
-
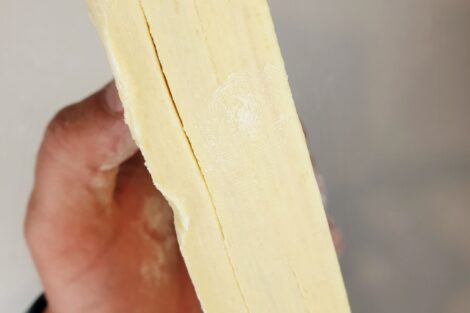
Cut your puff pastry in half. One half for the bottom of the Galette and the other half to cover it.
-
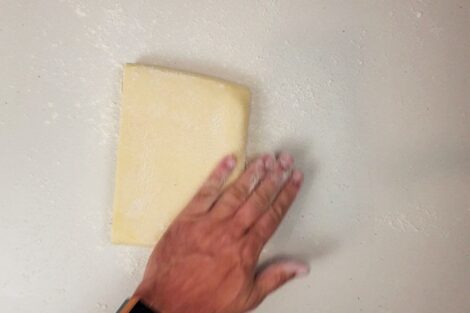
Dust your bench with flour and roll out half the pastry.
-
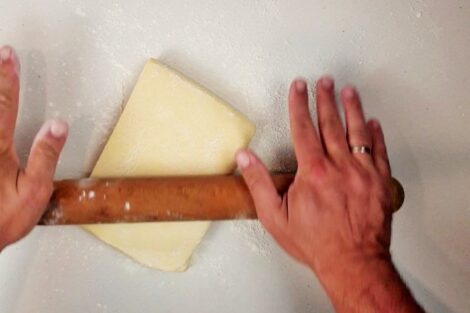
Roll the pastry to a 5 mm thick.
-
It does not matter the shape of it as long as you do not over roll it too much or under.
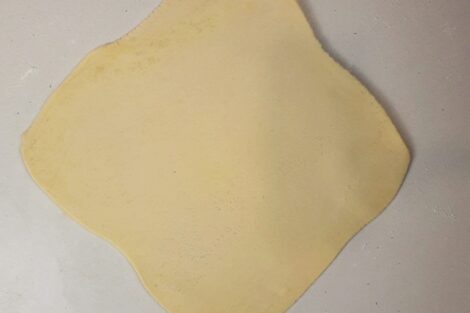
-
For this recipe the can serve up to 12 people, i am using a 27 cm Diameter plate
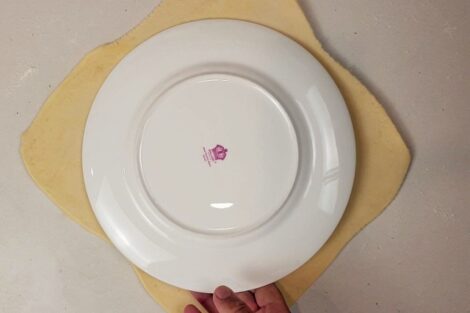
-
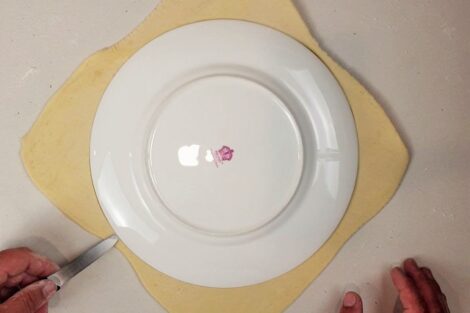
For the bottom layer of pastry, using a knife, cut the pastry at the edge of the plate. We will do something slightly different for the top layer.
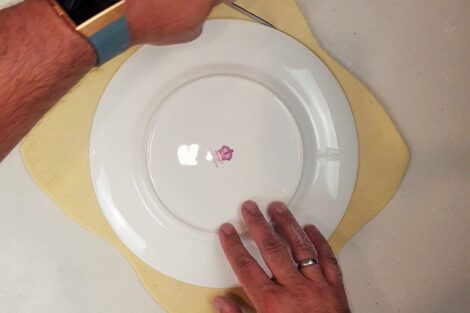
-
Cut the pastry all around the plate
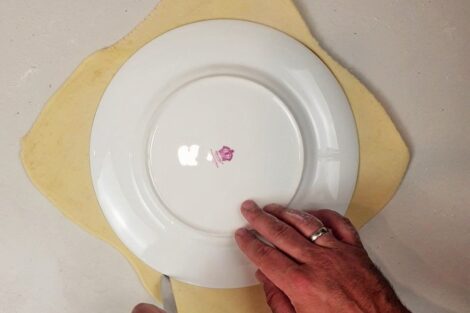
-
Remove the plate gently.
-
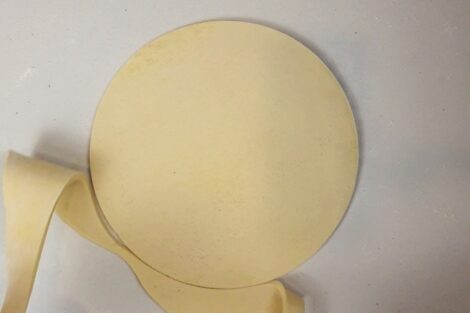
Remove left over pastry. You can keep the left over to make sausage roll
-
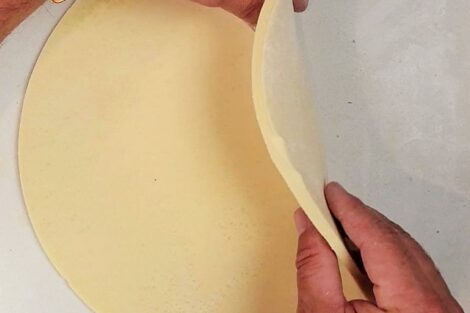
Check if you are happy with the 5 mm thickness of the pastry.
-
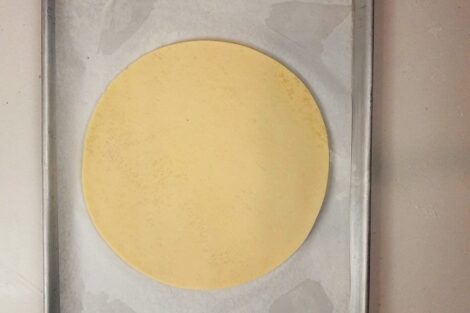
Transfer the pastry onto a tray with non stick baking paper.
 Egg wash- seal and finishes
-
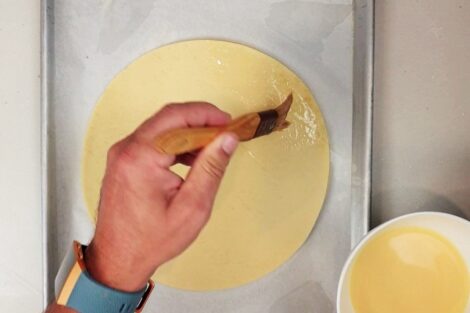
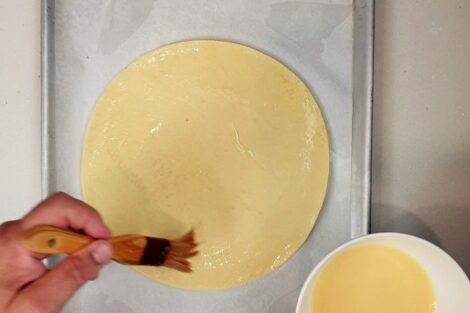
With the help of a brush, spread a little of egg wash all around the edge of the pastry.
-
Do not put to much and do not put it on the side of the pastry has it will reduce the lift whilst baking. the egg wash here is used a s glue.
-
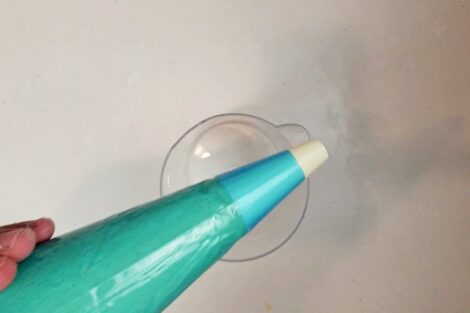
Bring the almond cream out of the fridge to room temperature. Once the cream is a little soft place it in a piping bag. If you do not have a bag just use a spoon like my Grand Ma used to do.
-
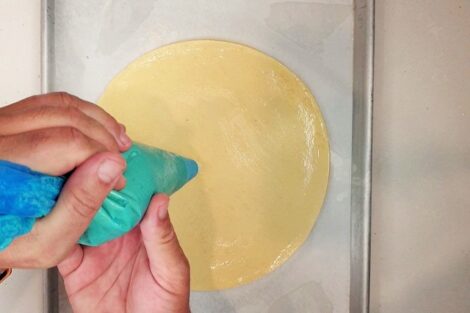
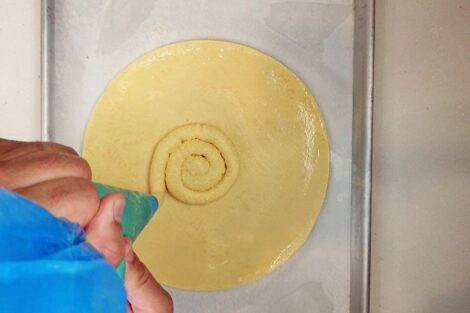
Starting from the center, pipe the cream onto the pastry.
-
This techniques often help to have he same amount of filling everywhere.
-
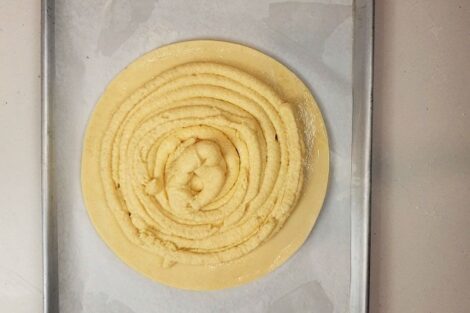
Pipe the cream to 1 cm off the edge of the pastry. The left over goes in the middle.
-
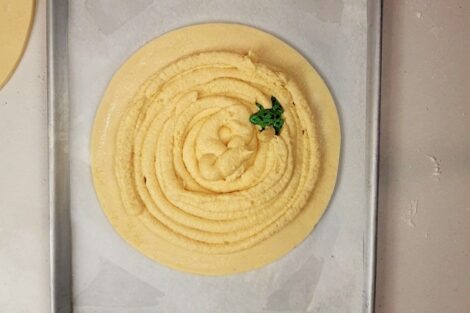
Place your "feve" or "trinkle" or little toy.
-
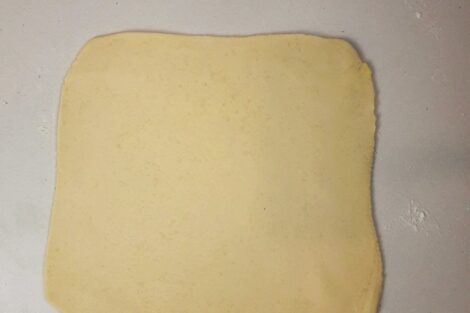
Roll out the second half of the Pastry.

-
Same as the bottom part roll out to 4-5 mm but a little larger.
-
Place your plate in the center.
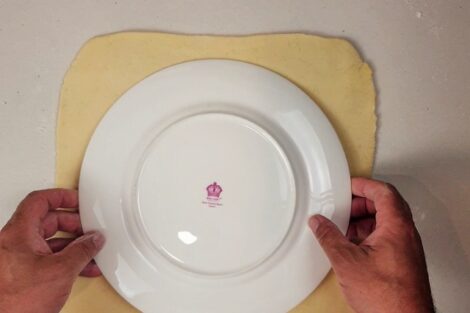
-
Here you are going to cut the pastry wider. About 2 cm wider than the bottom.
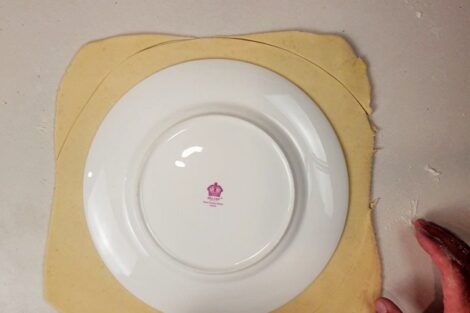
-
Because we are covering the cream we need to allow for more pastry to reach the edge of the bottom layer.
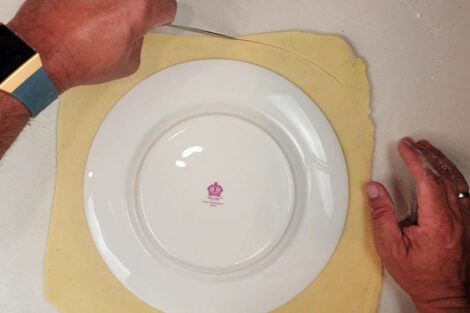
-
Place the pastry on top of the cream.
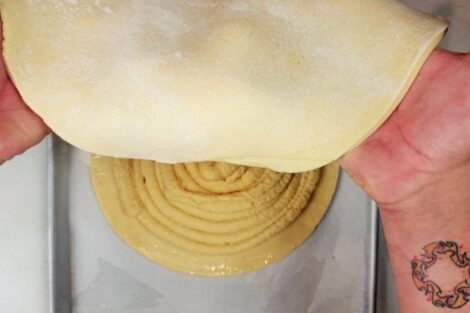
-
Apply a little pressure on the edge of the pastry to seal the top and bottom together.
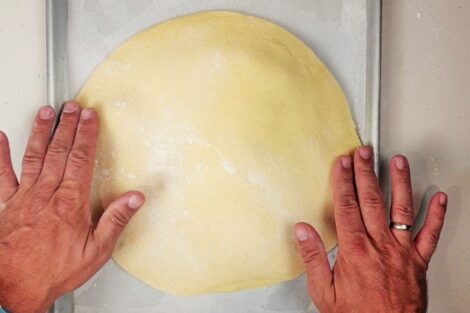
-
apply a little more pressure closer to the cream.
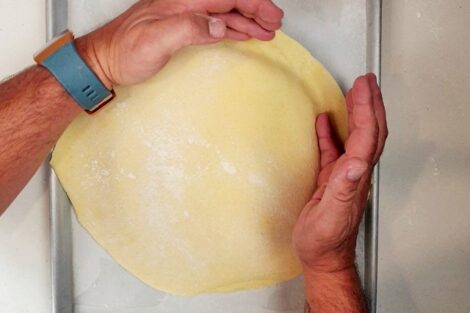
-
same here using just 1 finger
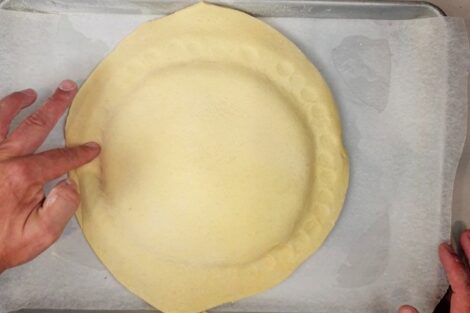
-
Brush the excess of flour.
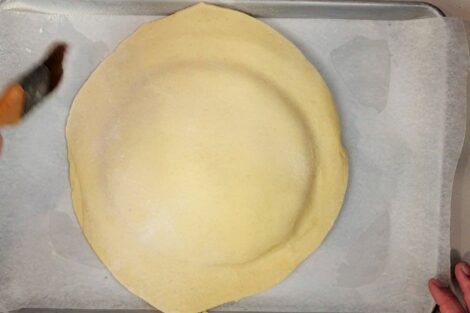
-
Cut off the "extras top layer pastry". it could be 1 mm here and there.
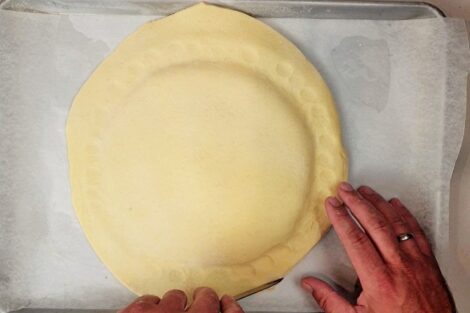
-
Brush more eggwash all over the top of the Galette. Again be careful to not brush the sides of the Galette.
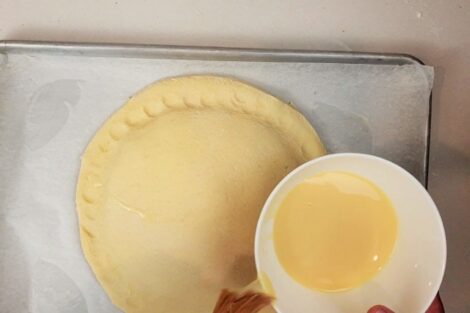
-
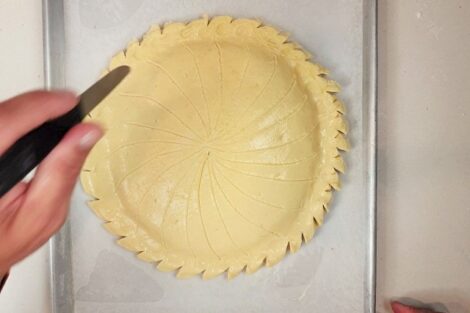
Create a little design on the edge. Using a small knife cut a little into the pastry.
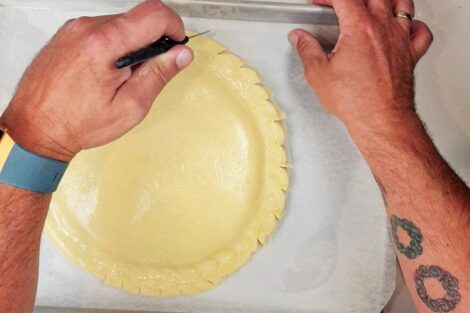
-
Gently score the top of the pastry with your favorite design.
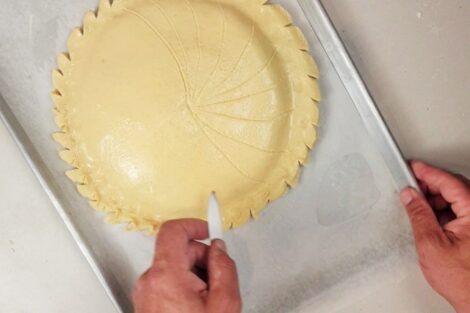
-
Perforate the pastry with tiny little holes to let the steam out of the pastry and reduce the risk of your Galette to burst and have the filling running out.
-
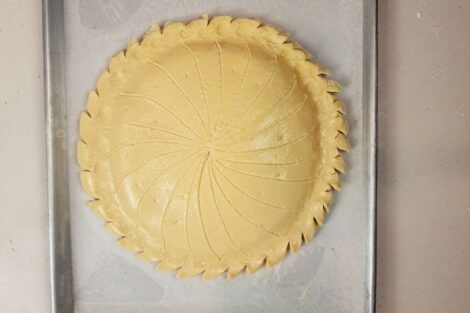
Rest in the fridge for 30 min . Meanwhile pre-heat the oven at 200°C Fan forced.
-
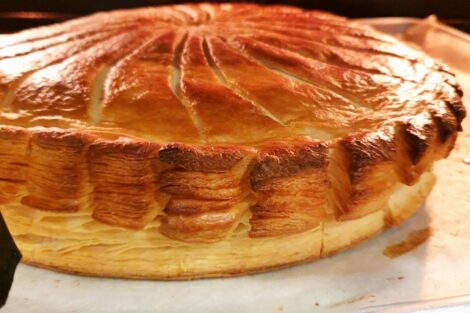
Bake for 20 min at 200°C and then reduce the heat to 160°c for 30 min.
-
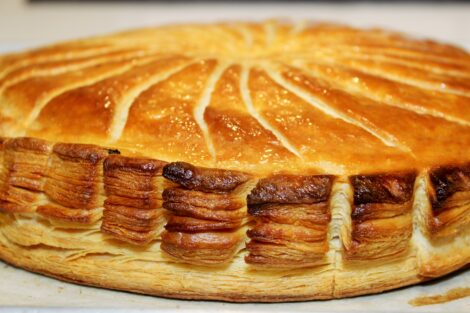
Let it cool down for 10 minutes and then brush your syrup generously on top of the warm pastry.
-
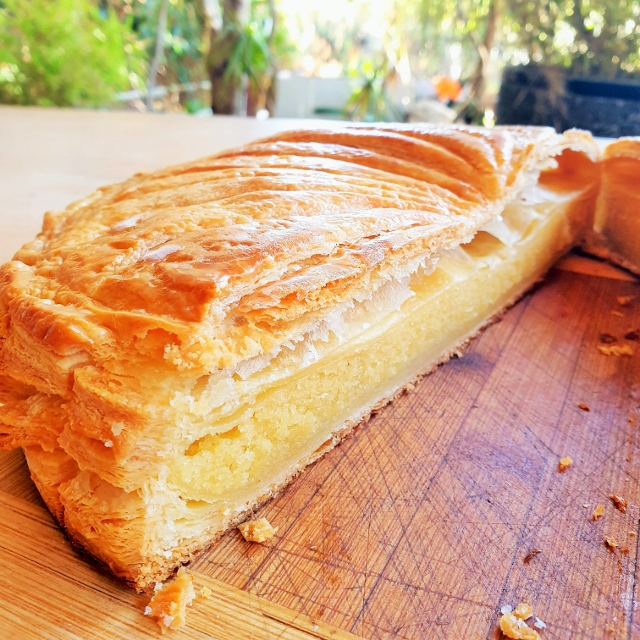
Voila, you have just created the best Galette des Rois.. You can keep it for up to 5 days. It is always best to serve it warm.. It is time to "tirer les Rois and find out who will be the "king of the day"... For more History read my post on my Blog. Bon Appetit and Happy Epiphany Everyone.
Hi Chef ! This is Hanae!
I’m thinking to make your Kings cake during this lockdown:)
But I have a question!
Because I’m an apple turnover-lover!
So I was thinking if I can add raw coated with sugar+cinnamon sliced apple place on top of Frangipane and close them up and bake it !
Is it can be watery because of apple ??? Or it should work well?
Looking forward to hear from you!
Answer is here or Instagram message whichever is fine for me !
Thank you
Hanae
Hello Hanae,
Yes it works very well . this kind of galette has been popular in France the last 15 years.. Apple inside and cinnamon works very well with the frangipane