Hello Foodies,
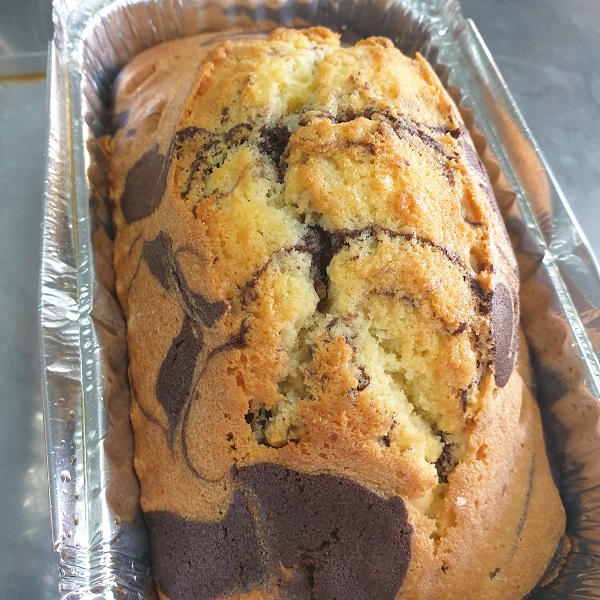
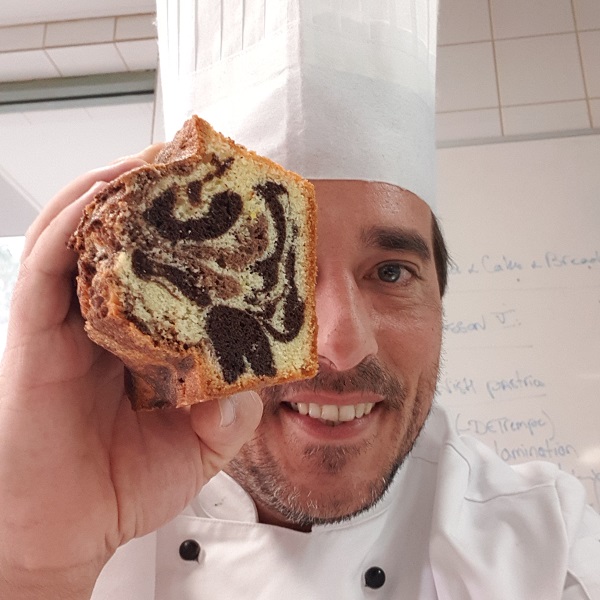
Today i deliver you the Marble cake recipe. I hope you enjoy baking this week end and share the love around with this beautiful cake.
That cake is a classic among family members, kids and friends. It is because often it brings you childhood memories of your grand ma or your mum baking that cake. This cake is also cake a bar cake because it is often baked in a long tin like a terrine. Another name for it is the “pound cake” because it was easy to remember the quantity when making it. 1 pound of sugar, 1-pound flour and of course 1-pound butter were the essentials for this cake and don’t forget 1 pound of eggs.
History of The Marble Cake:
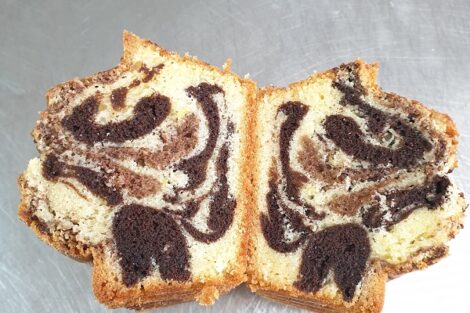
Marble cake is come from Germany. If you do not know Germans and Austrians were some of the best bakers in the world. It is called “Marmorkuchen” in German, its origin date back from the 19th Century, 1871 to be precise. The technique of this cake is to create a marble effect with two different colours of cake mixture (batters) together.
One upon a time, Bakers used molasses, spices, raisins, currants, and even ground coffee to create the darker colour batter for the marbling effect. Nowadays, melted chocolate or cocoa powder create that dark colour.
Happy Baking and happy week end
David
Ingredients
-
From the Pasture:
- From the Pantry:
Instructions
-
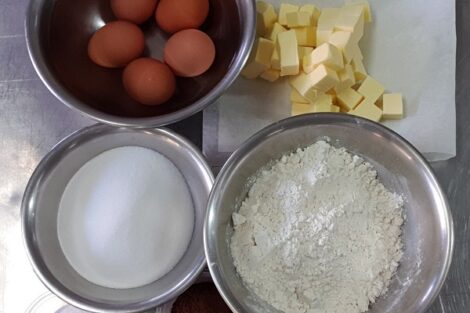
Melt your 10 g of butter, use the microwave for it and a plastic container. Pre-heat your oven at 160°c Grease you cake tin with a brush and butter. Sift the Flour and baking powder together. Crack the egg one by one in a separate bowl. This is too make sure they are not rotten
-
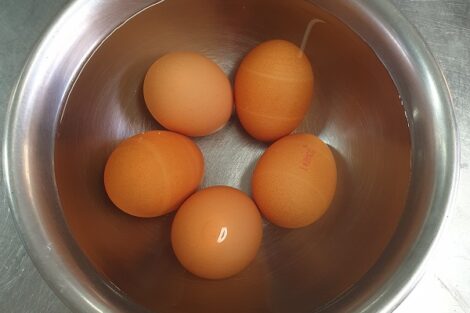
Try to have your butter at room temperature or a little soft. Do the same with the eggs. If they are in the fridge just put them for 10 min in warm water to bring them to room temperature.
-
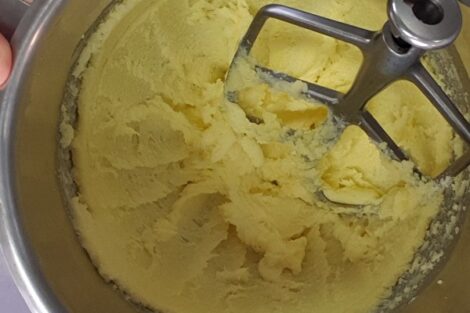
Here i am using a bench top mixer and a spade attachment. Add the butter and sugar together. and mix at low speed until the butter is soft and bind the sugar.
-
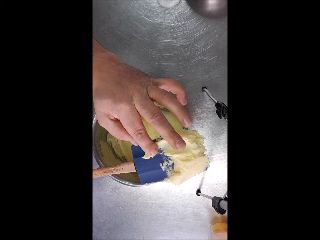
Scrap the sides of the bowl and check if it is soft and feels like a cream on your skin.
-
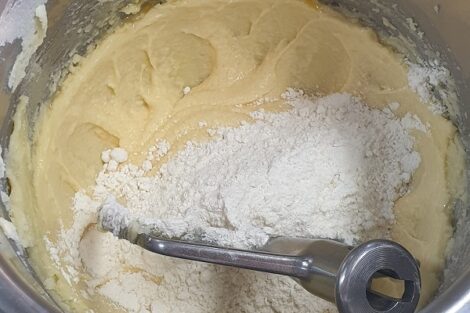
Add a 1/3 rd of your flower and mix at low speed for 1 minute until it combines.
-
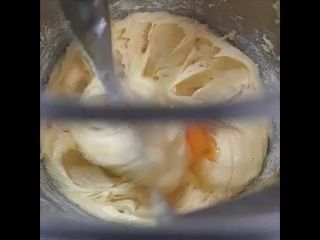
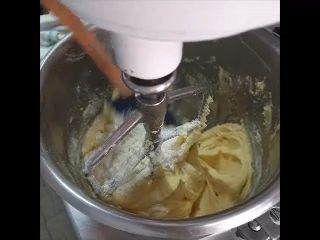
Keep mixing at low speed and add 2 eggs.
-
Scrape down the side of the bowl to get the ultimate mixture (batter).
-
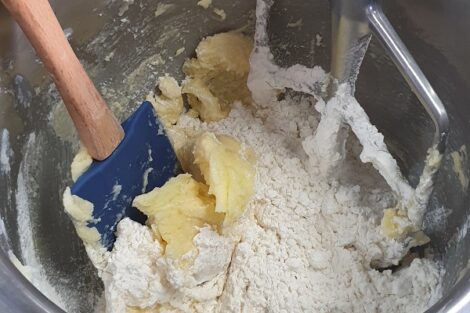
Repeat the process. switch off the machine, scrape down and add the 2/3rd of flour.
-
Keep mixing at low speed and add another 2 eggs.

-
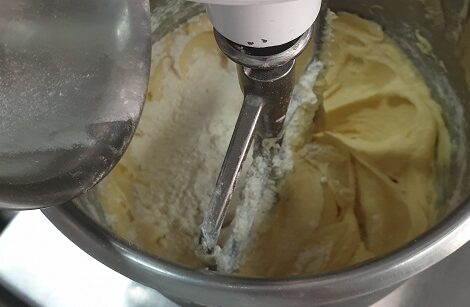
Add the vanilla essence. Repeat the same action until you incorporate the last of the flour and the last egg.
-
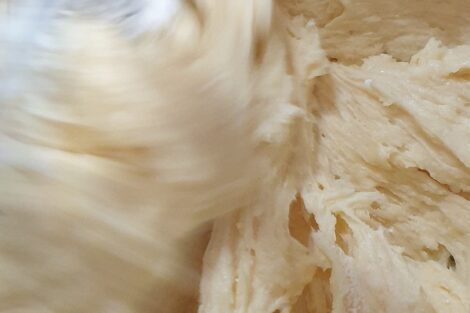
Your batter should look smooth, soft, free of lump and not splitting (separating).
-
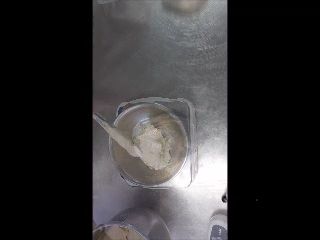
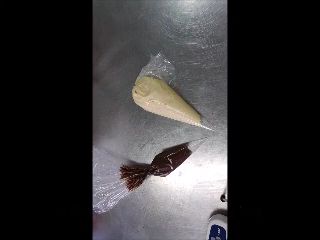
Once done Keep 250 g or a 1/4 of the recipe in a separate bowl and mix in the cocoa powder. Fill a clean piping bag with the cocoa batter
-
Do the same for the vanilla batter
-
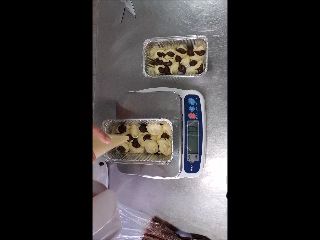
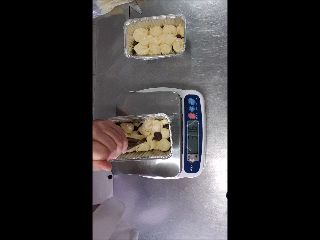
Pipe big dots of the vanilla batter at the bottom of the cake tin. Here i used a scale to have the perfect amount of batter in each tin.. A bit of a perfectionist attitude displayed there
-
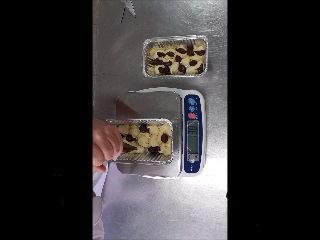
Do the same with small dots of cocoa batter. filling the space in between the dots.
-
And again until you emptied both piping bags.
-
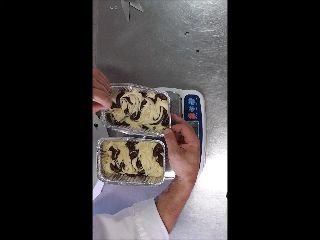
Using a skewer or the tip of a small knife, swirl the skewer form left to right or right to left, connecting all the dots. Do it just once, do not go all over again.
-
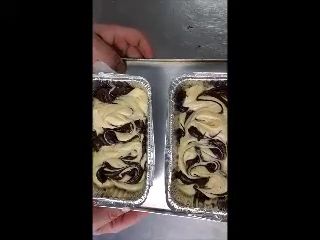
Place the cake tin on a tray. and bake at 160°c for 35 min.
-
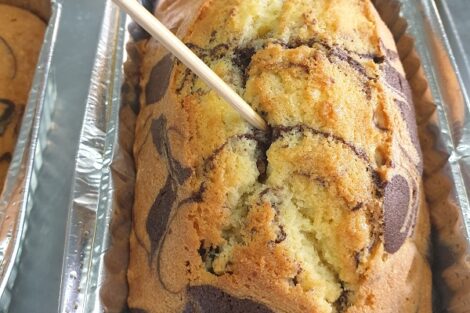
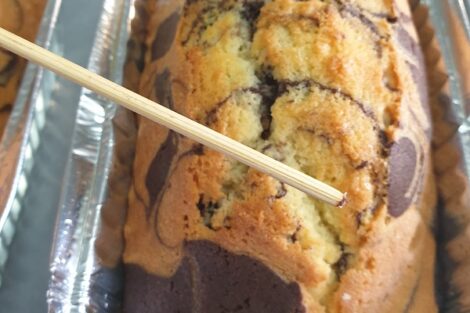
Once bake remove the cake safely from the oven. and use a skewer in three different points.
-
The skewer must come out clean every single time.
-
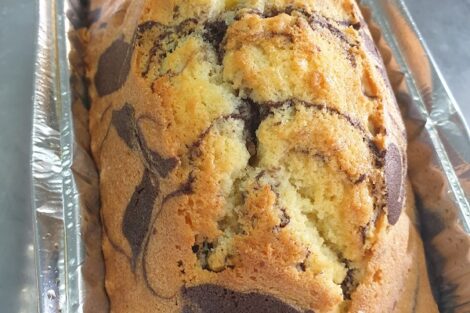
Look at that CRACK... could not resist but this is a good thing to happen. It proves that your cake was not overworked, at right temperature and baked properly. For a cake this type, a good crack, means a good cake.
-
Once totally cool down. slice your cake and share it with love ones.
-
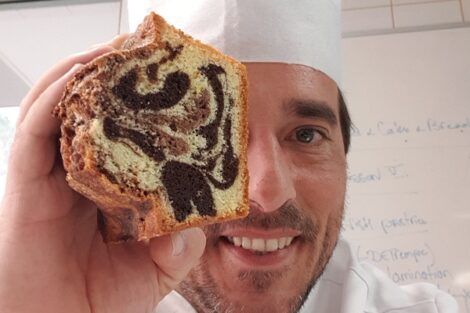
I see you... Bon Appetit and let me know how you went trying this recipe. Don t forget to subscribe. Au revoir David
Notes
Always preheat your oven and check the internal temperature.
Conditioning your ingredients is important for most cake techniques:
Try to have your butter at room temperature or a little soft.
Do the same with the eggs. If they are in the fridge just put them for 10 min in warm water to bring them to room temperature.
Use a tray under your tin whilst baking to avoid over spill and dirty your oven. In addition, it makes it easier to carry it and safer.
I always use a wooden skewer to check if my cake is baked properly. It should come out very clean without moisture or batter on it.
Always cool down your cakes fully prior cutting them. If you can’t wait the cake will either crumble, break, or the steam will travel through the blade and make the cake look uncooked.
This cake batter should not be over worked, or made too fast. So, making by hands is perfect but if you use a bench top mixer, use the slow settings.
You can keep the cake up to a week or two in an airtight container. But I doubt it will last that long. Or well wrapped up to 3 months in the freezer.
